Hi! I decided to post this fun activity I enjoyed with my students. I created Quetzalcoatl puppets. Quetzal what? Quetzalcoatl, one of the most adored Mesoamerican gods.
You can learn all about this deity in the video I created below:
So now let’s get started!


You will also need a copy of each of the following templates, PDF available for free below:

Quetzalcoatl Puppet Templates (Plantillas). ©2025 Maria G. Acuna Download

Cut out the head and snout:


Make sure you fold it on that black line before removing the white template.
Cut out two eyes and two nostrils (the nose)… if you fold the paper you can get two as you cut:


Glue the snout tho the head (only put glue on the folded part so the mouth can open and close).

Next come the teeth, make 6! Two for the front and 4 for the sides. You can cut them smaller if you wish!

Don’t forget to fold them on the black line… that’s where you’ll place the glue!

Now use the brown paper to make the interior of the mouth… you can also use orange or pink:


Glue the teeth:


Now we’ll make feathers for its head. We’ll start with the green ones:


Fold the paper to cut up to 4 at the time! (You’ll need 8 at least.)


Now we’ll make the second row of feathers: the blue ones. We’ll place them in the back between the green ones so you’ll need 7. Don’t forget to fold them in half for added texture. And count at least to 5 holding them down as you glue so they stick well.


Last we’ll make the yellow longer feathers and glue them in between the blue ones on the back of the head. You’ll need 7 too.


You can also choose other colors for the feathers. When I made them with my students (second grade) they added their personal touch in the eyes and the color of the feathers:

Can you believe those were created by mu second graders?!


Make sure to follow the dotted lines as you cut…


We’ll add the tongue, remember to trace always to the side of the paper so we don’t waste as much paper


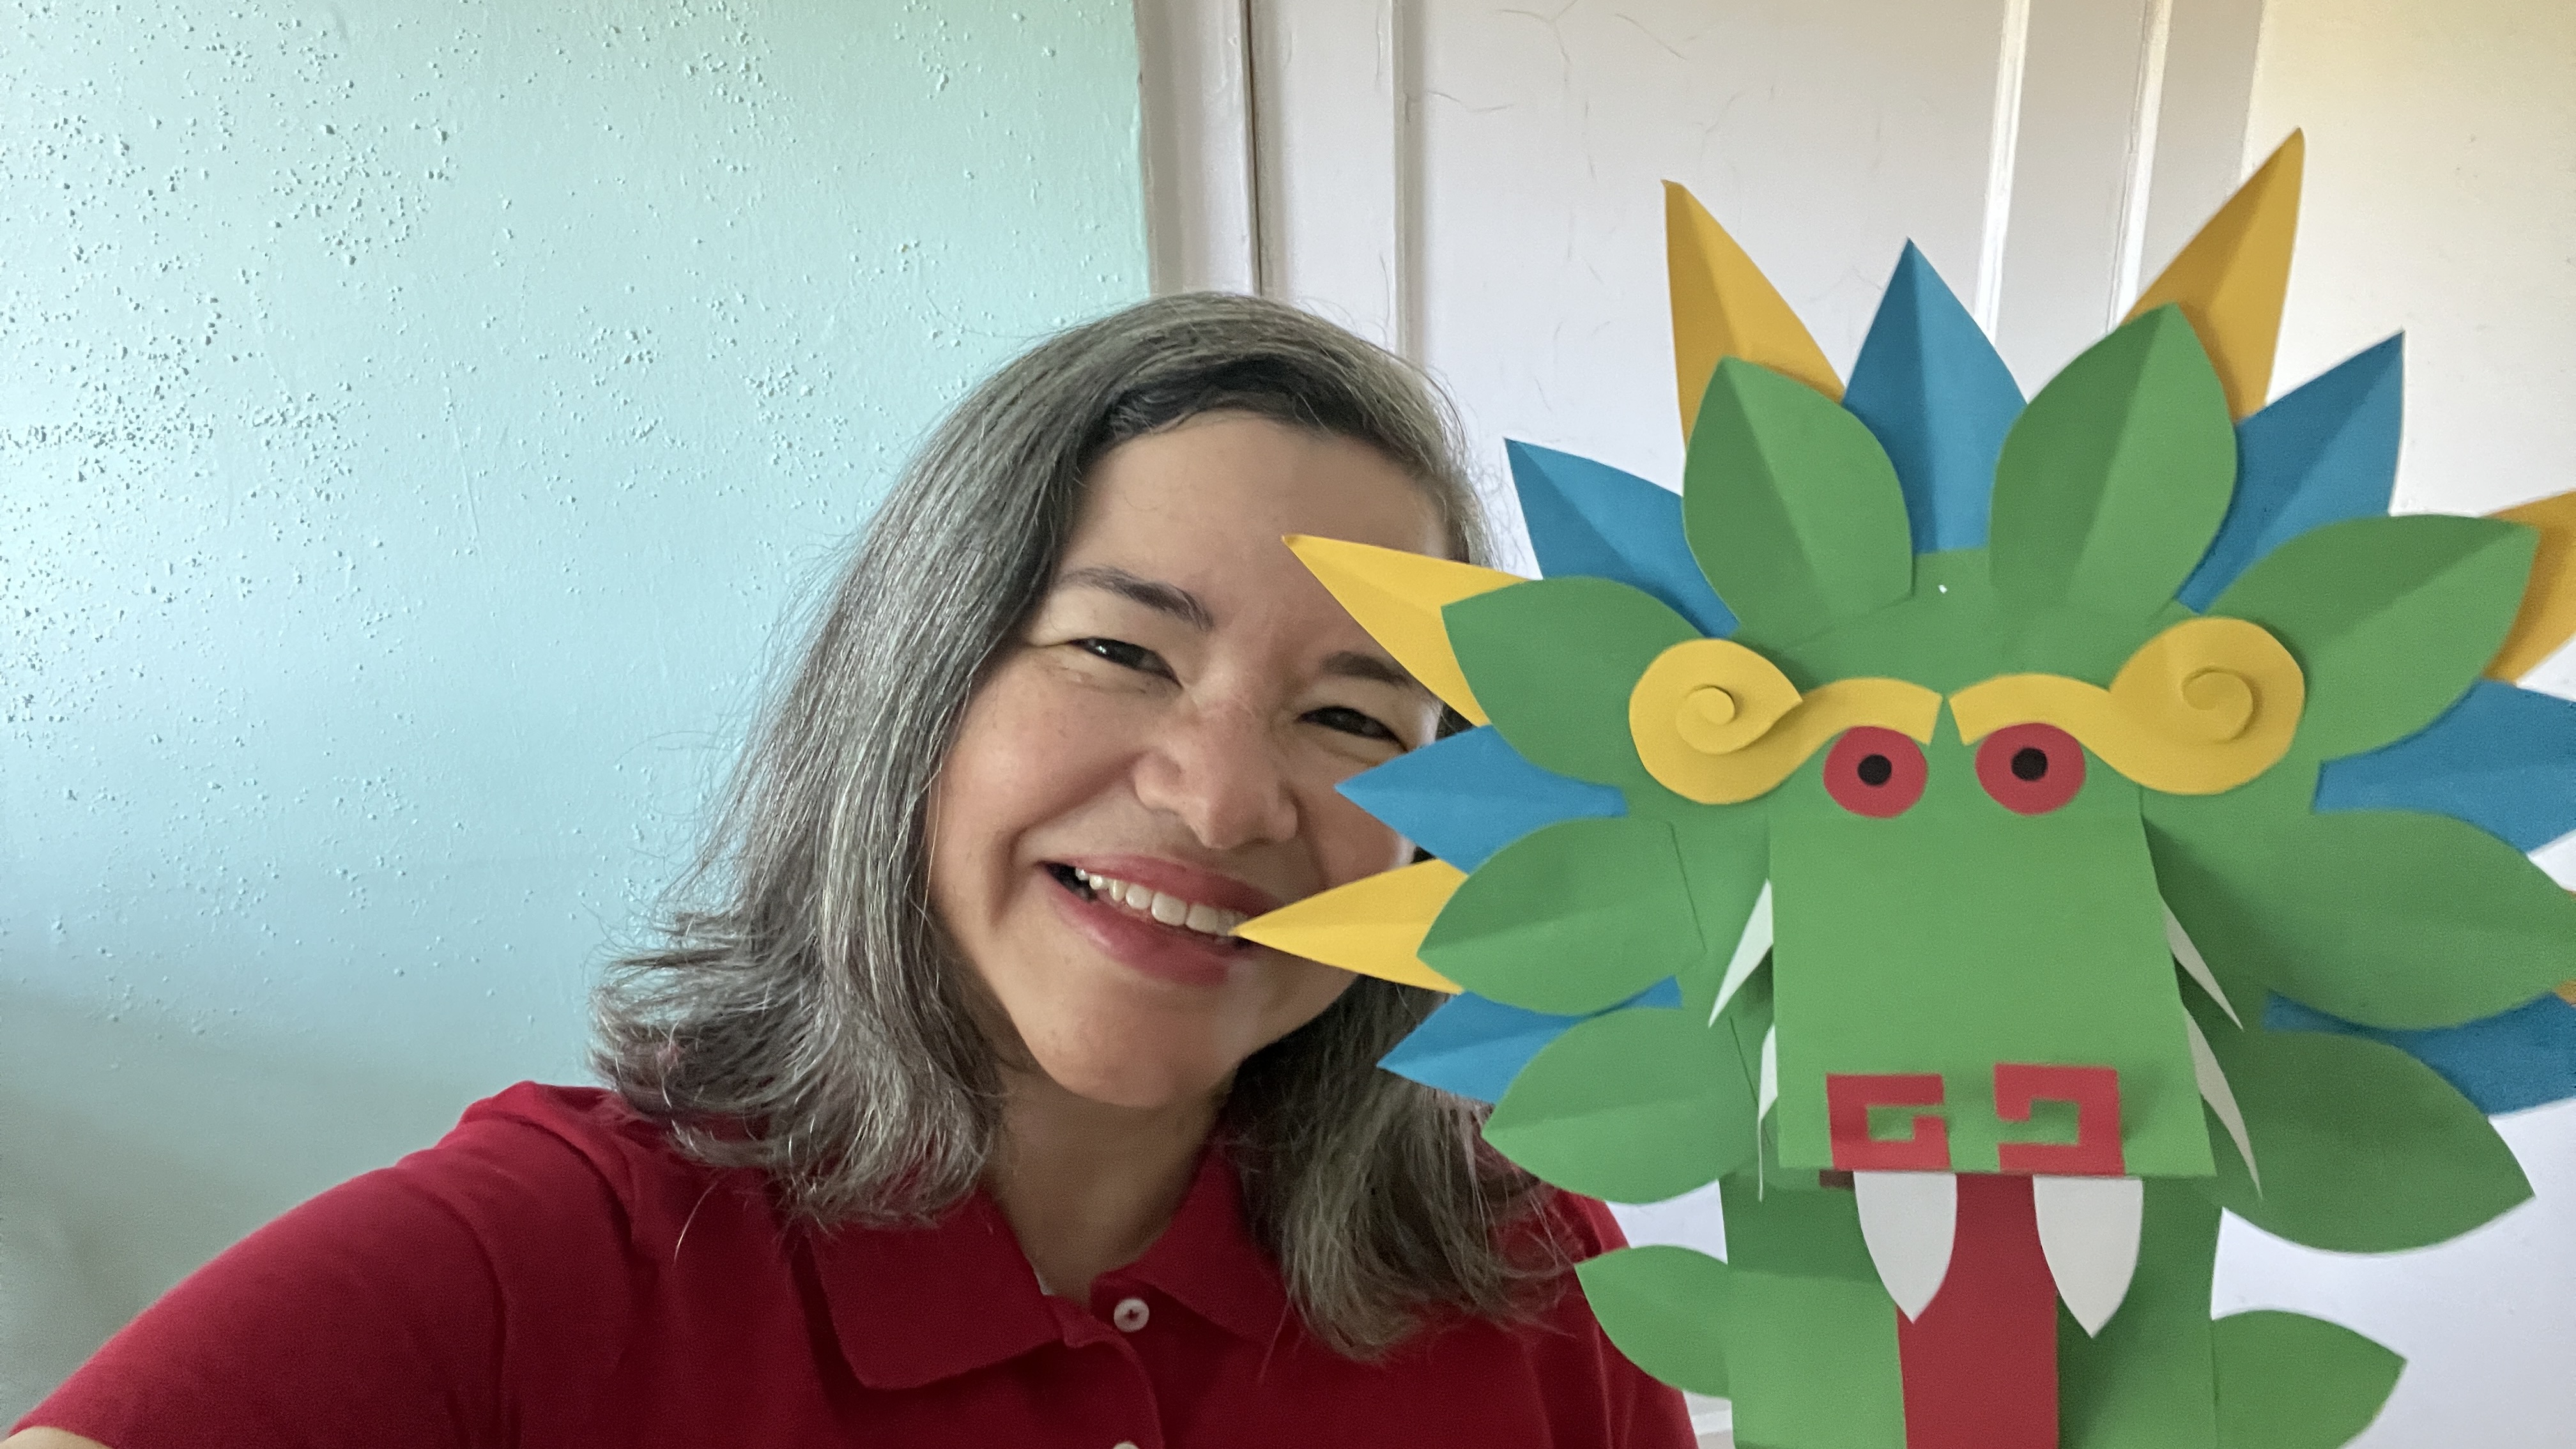
And now we are finished with the head!


Glue the two halves together, you can add a third piece if you want it even longer too… and then fold it accordion style:


Glue the body to the head (from the back):

I added tape for added strength:

And now we’ll decorate the tail, here you can use left over feathers and create your own of other colors. I included a couple of other shapes in the templates that you can also use.


And last, add the stick. Grab a sharpened pencil or a pointed object and make a small hole in the half line of the place between the head and the body. Push the stick through from the front to the back:


You can also use the hot glue gun to glue the stick before the tape step. Make sure you use crossed tape from top to bottom too, to hold the first tape in place. And we are done!


