
Hello!
I know it’s been a while, but his took more than while as I decided to make a marionette! Fortunately I was able to find some sites with great information and even graphics that showed how to make them!
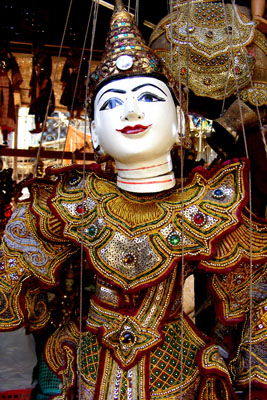
Deciding which character to do was so hard. I really loved the ogre! But in the end I decided to make Tha Gyar Min, the King of Celestial Beings. I loved its name and looks. In a way it is like an angel King.
These are some photos of it… it seems it can come in different tones, but I liked it in gold.


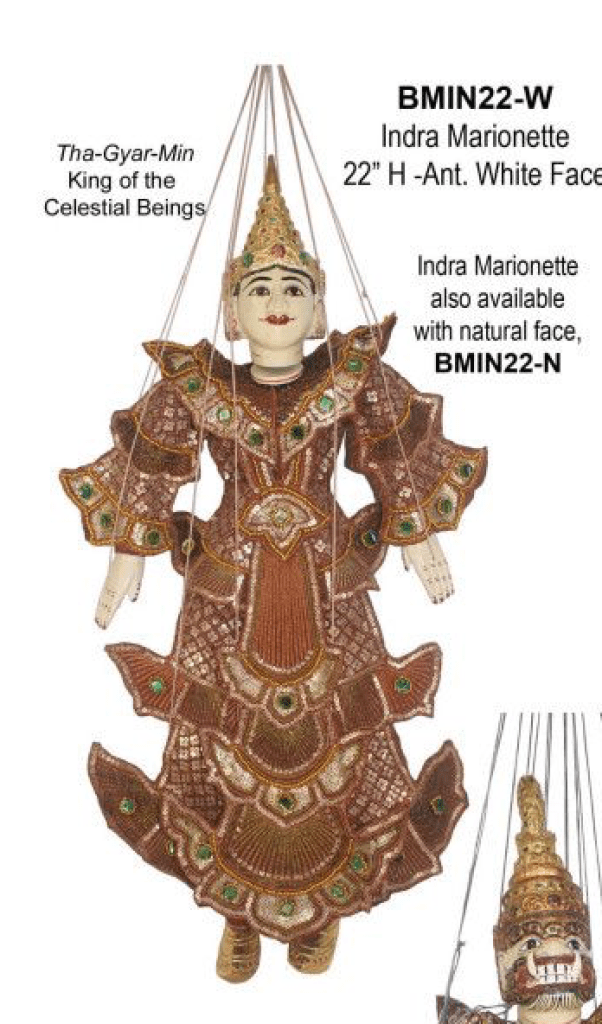
This last photo was the main reference for its outfit.
Materials
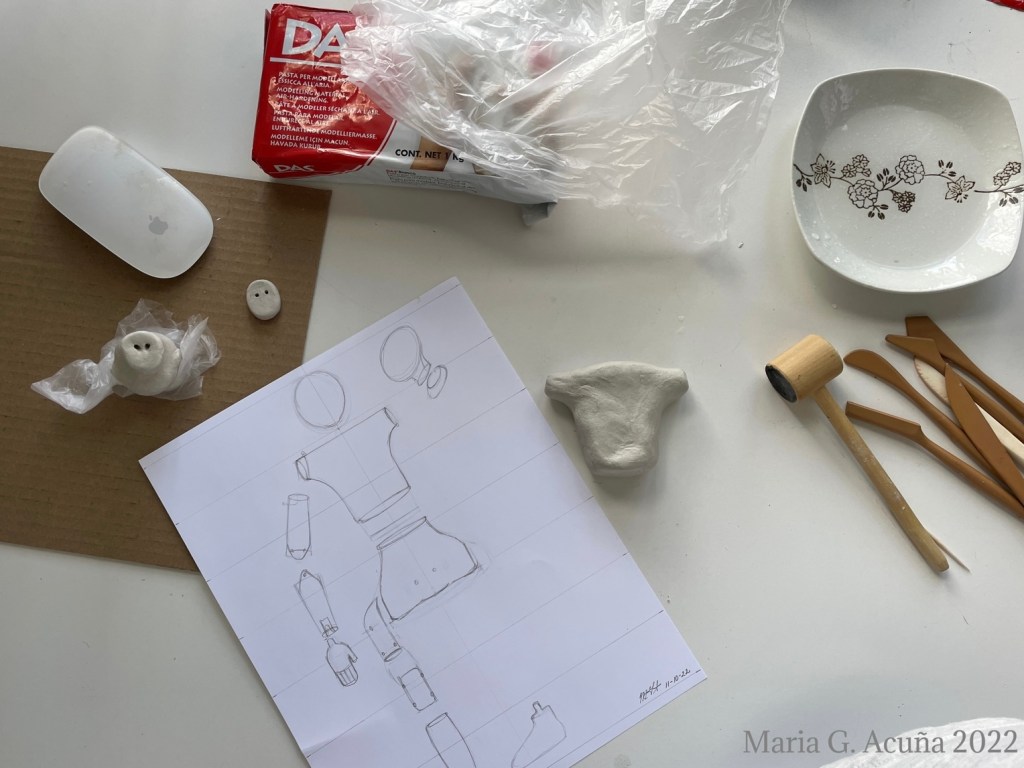
These are the main materials used:
- Das Modeling Clay. (Any kind of self hardening clay)
- toothpicks
- felt, cloth, ribbon for the outfit
- plastic jewels to decorate
- the lid of a bottle of glue (as a base for the hat)
- nylon cord
- yarn
- wood for the handling stick (I used chapsticks)
- acrylic paint: red, black, pink and gold, brushes
- sewing machine, needles, thread
- crazy glue, hot glue gun
- plastic glue film such as “Steam a seam” (for gluing cloth together)
- paper, tracing paper
- pencils: HB & 6B (for transfering image)
How I made it
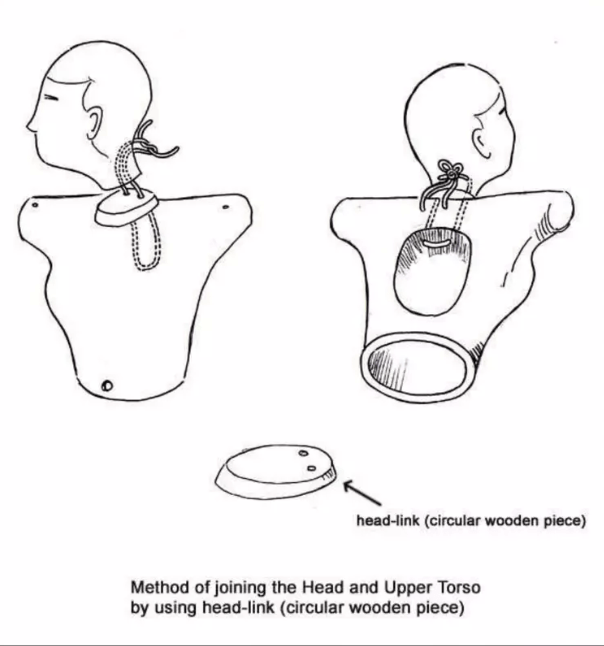
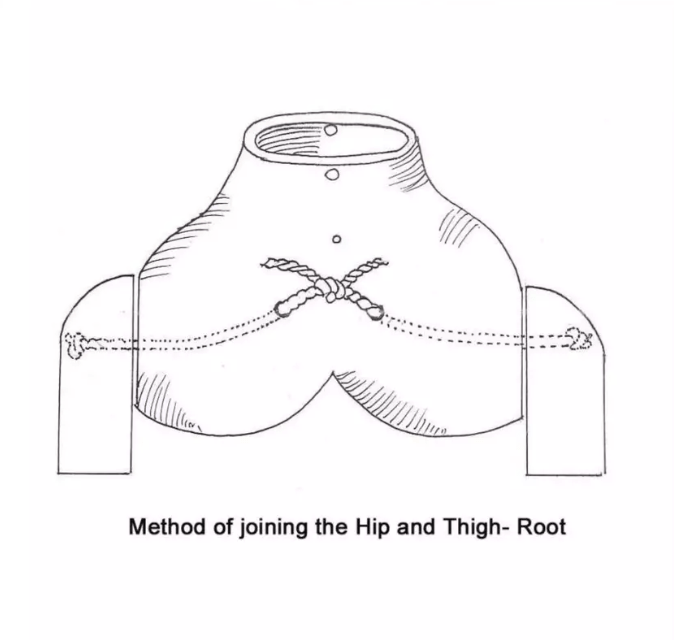
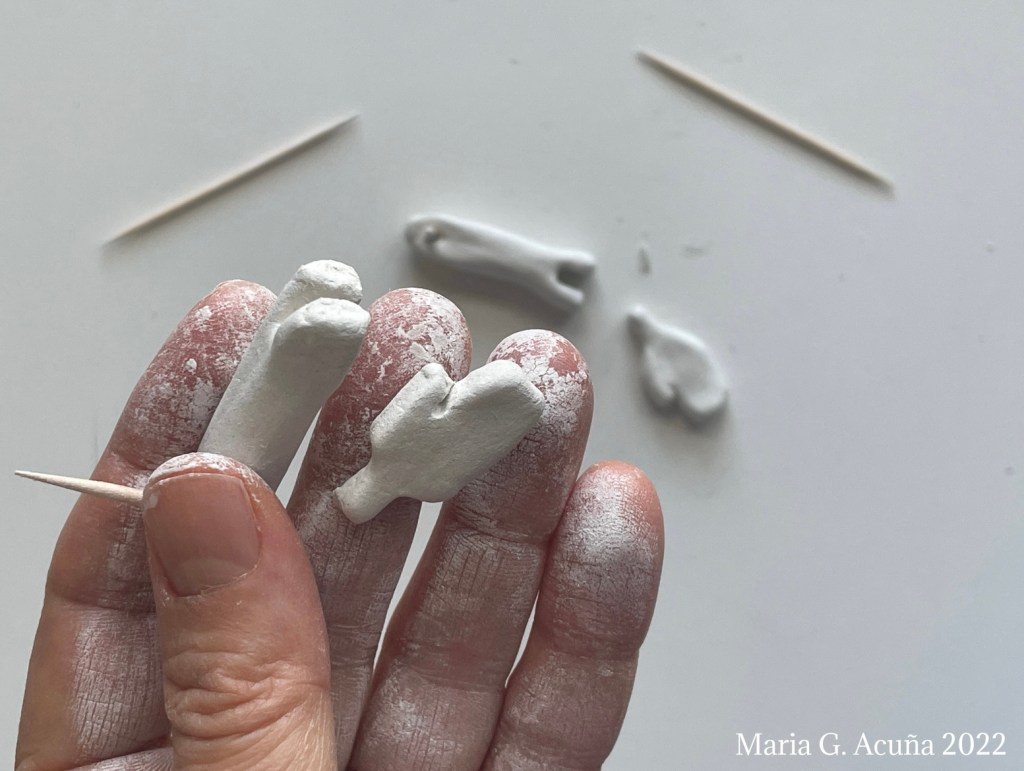
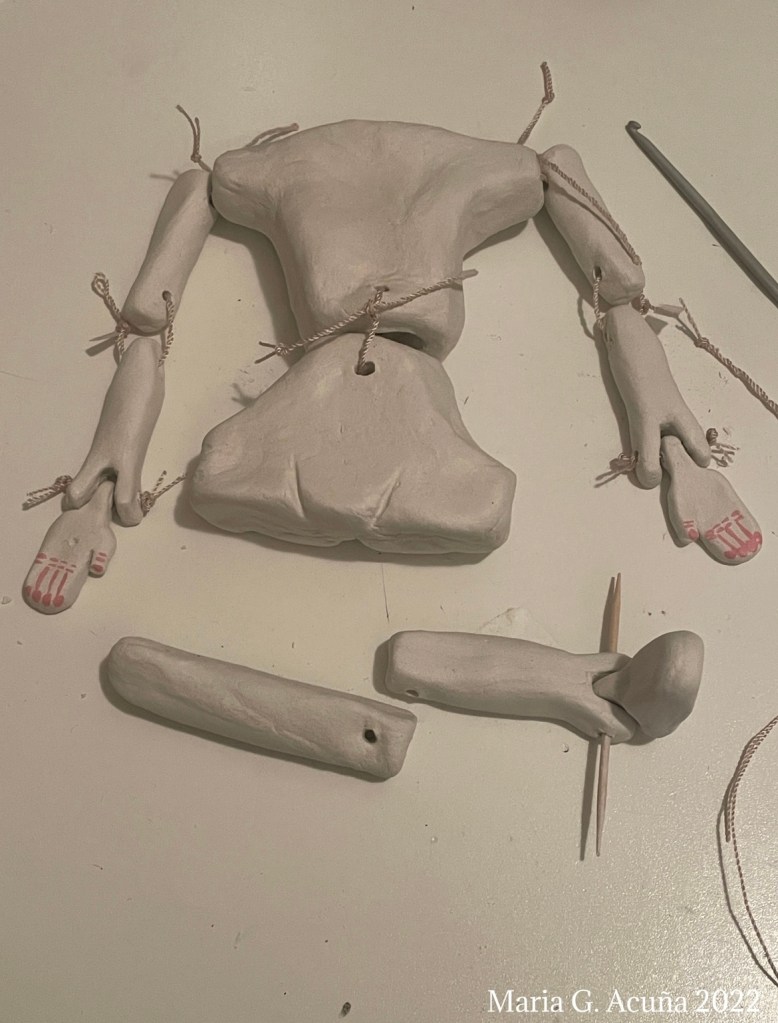
The Body
The first thing I did was draw the body of the marionette in pieces, so I could use them as the base for making them out of clay. My end product was slightly bigger than what I had drawn, but it was useful to see what kind of shapes I would need and how many pieces would make the body. I used the images provided by Kyaw Myo Ko, Director of Mandalay Marionettes as a base for my work. You can see them all HERE.


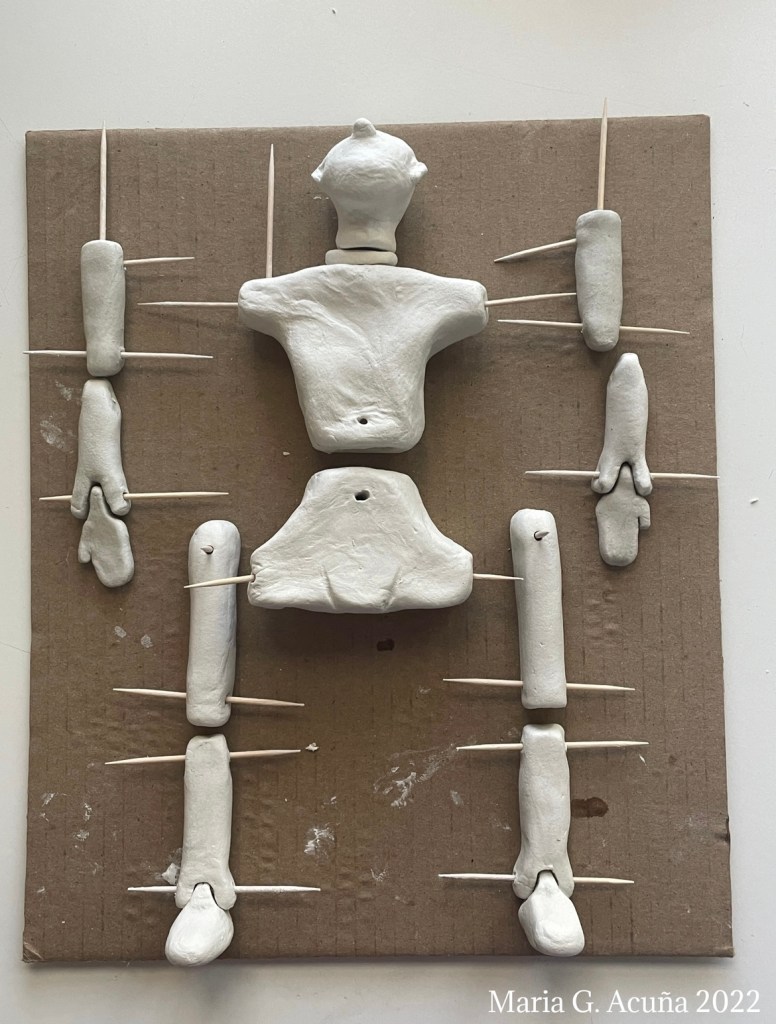
I used the toothpicks to keep the holes open as the clay dried and to hold the correct position for the hands and feet.
I let the pieces dry for about two days. While they dried I worked on the outfit.
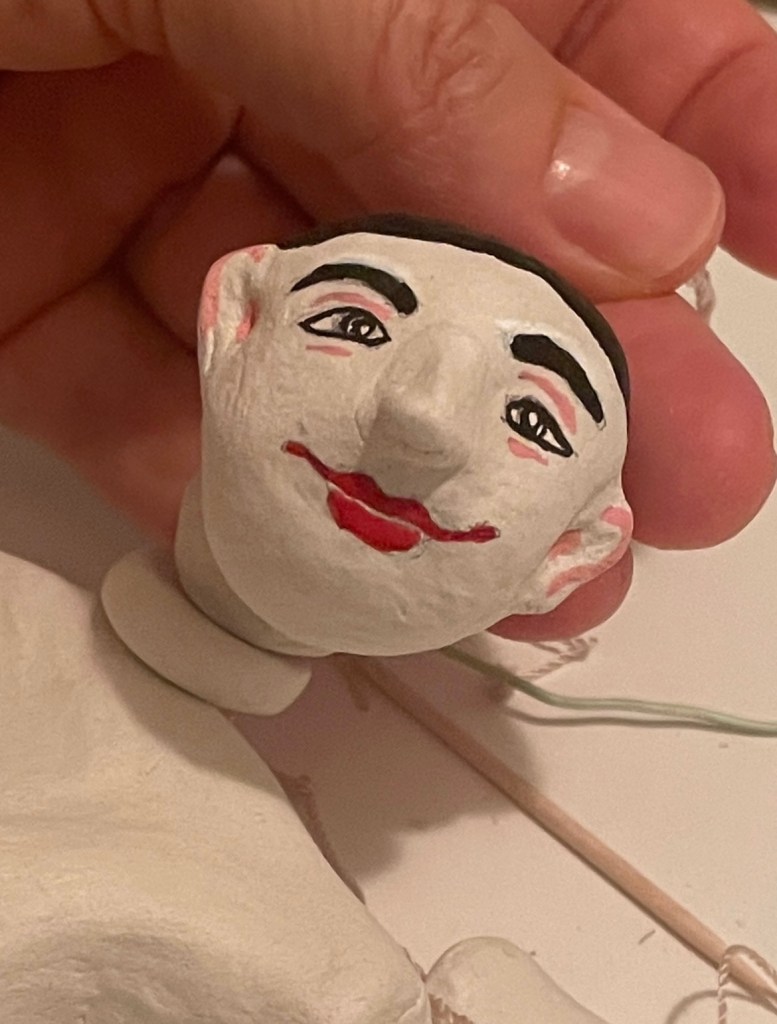
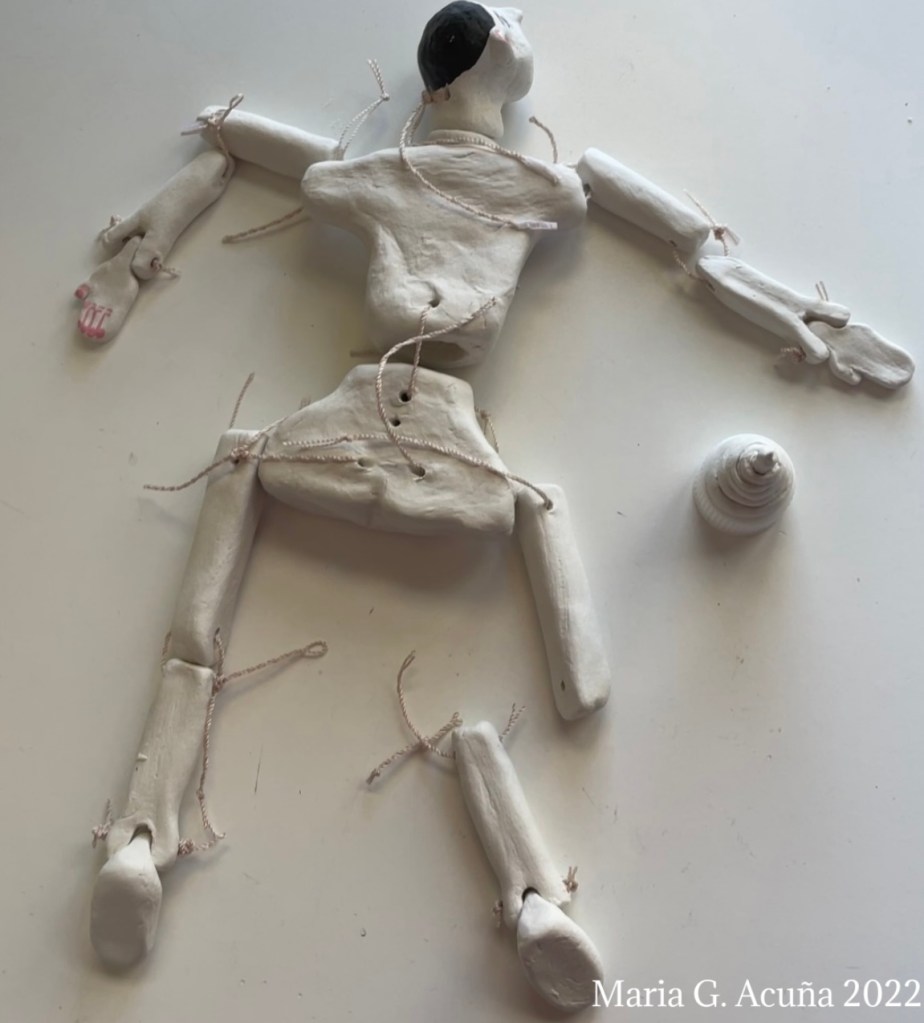
Once the clay was dried, I painted the face and the hands.

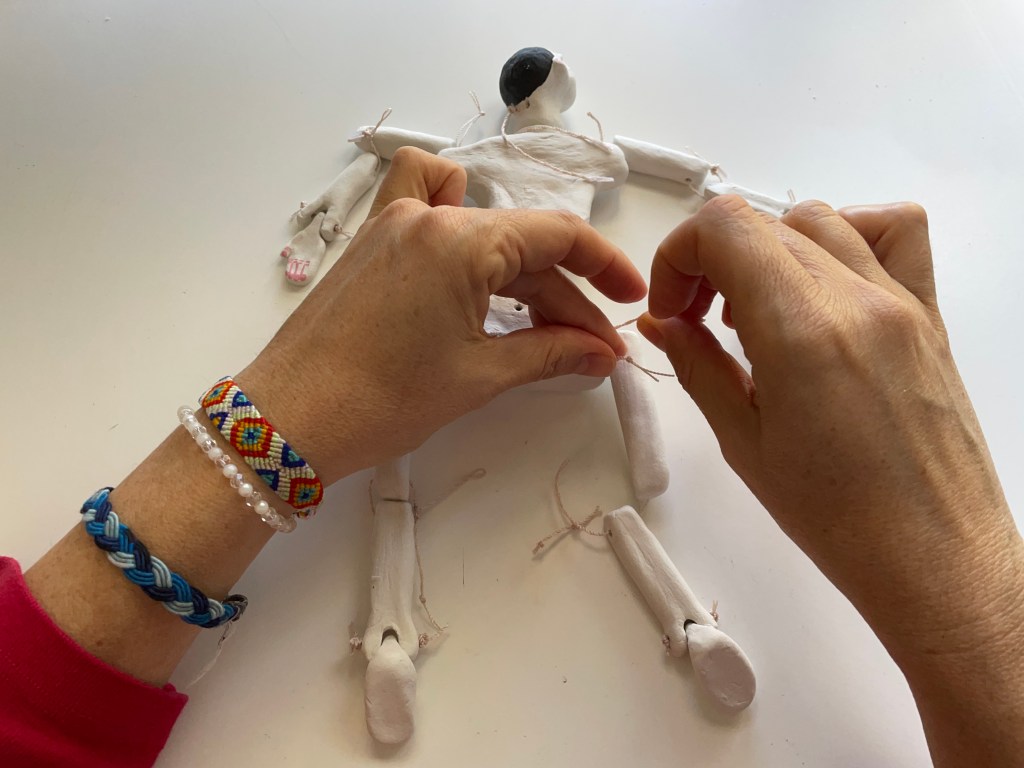
Then I tied all of the pieces of the marionette.
I fell in love with its beautiful face, those sweet eyes. It creeped my son out so I know not everyone will feel the same as me! I read somewhere that in Myanmar, some puppeteers believe that when you create a puppet it has a spirit… and I can see that, because I felt that as soon as those eyes were painted it had more of a presence.
Then I tied all the pieces together. I doubled all the nylon cord.

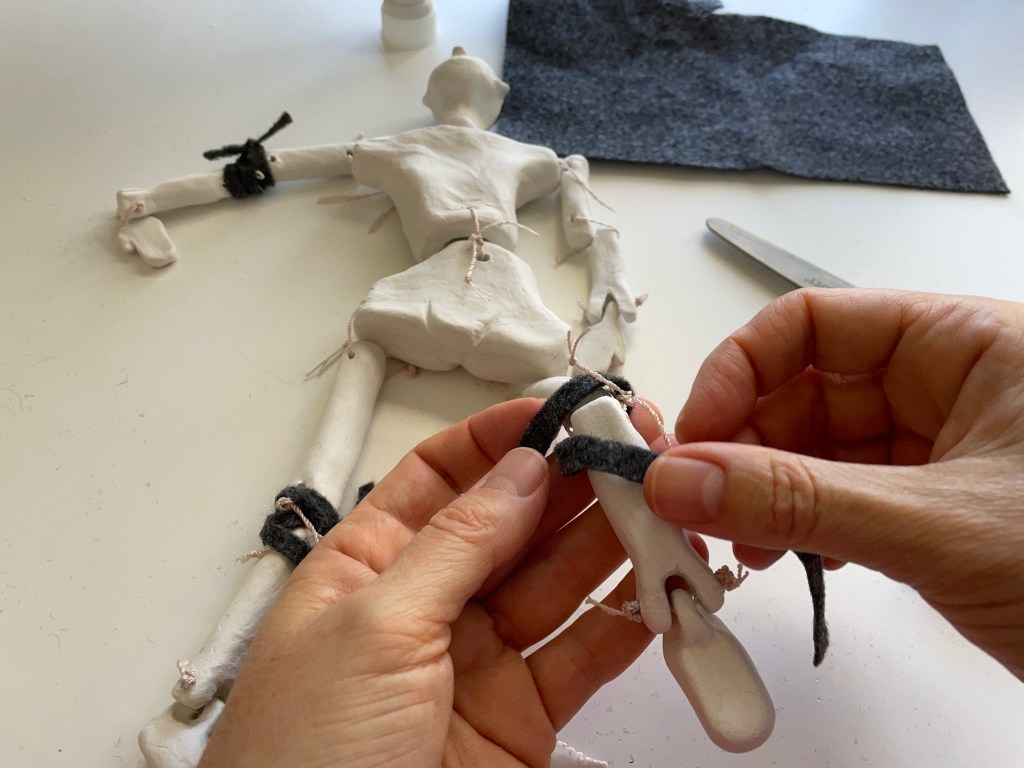
Then came a part that I thought was interesting. Strips of fabric is added to the joints… and it made a difference as the marionette’s moves became softer and slower. I used a gray felt:


Outfit
As I said before, I used the following photo as a reference for the outfit:

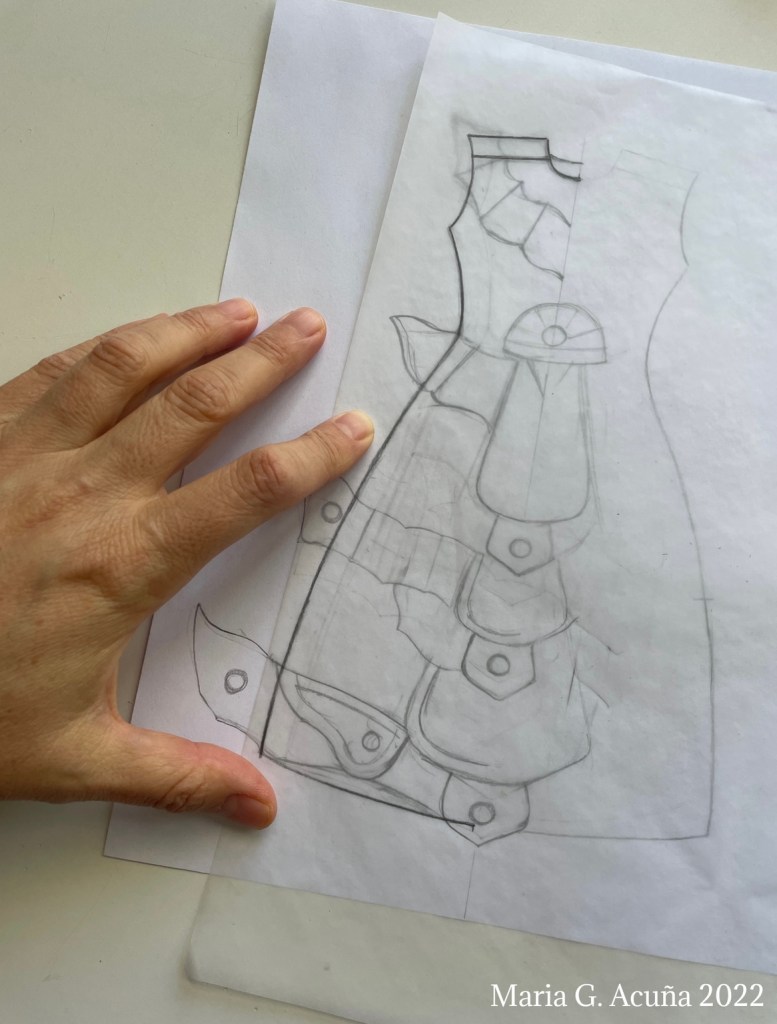
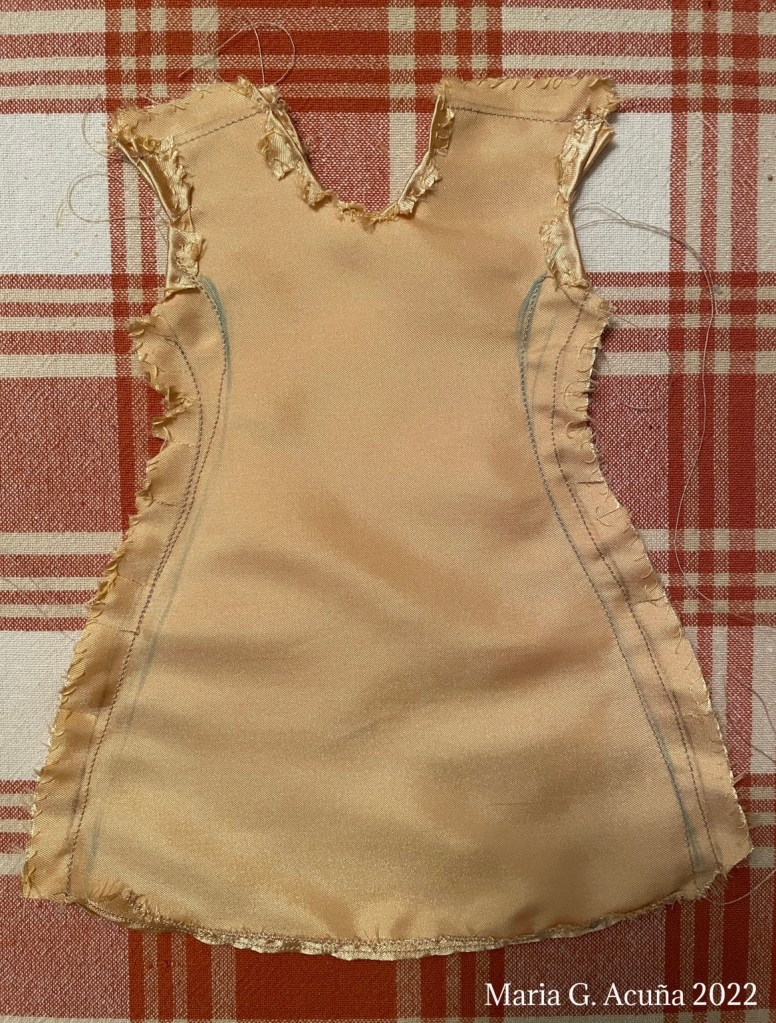
I looked for all the gold and yellow cloth, ribbons and felt I had. I bought a cheap gold table runner and used part of it for the base of the outfit. (I can use the table runner on my table for Christmas! ^ ^). I first drew the outfit. Whenever it is something symmetrical, I tend to draw half and then copy it so it is accurate.

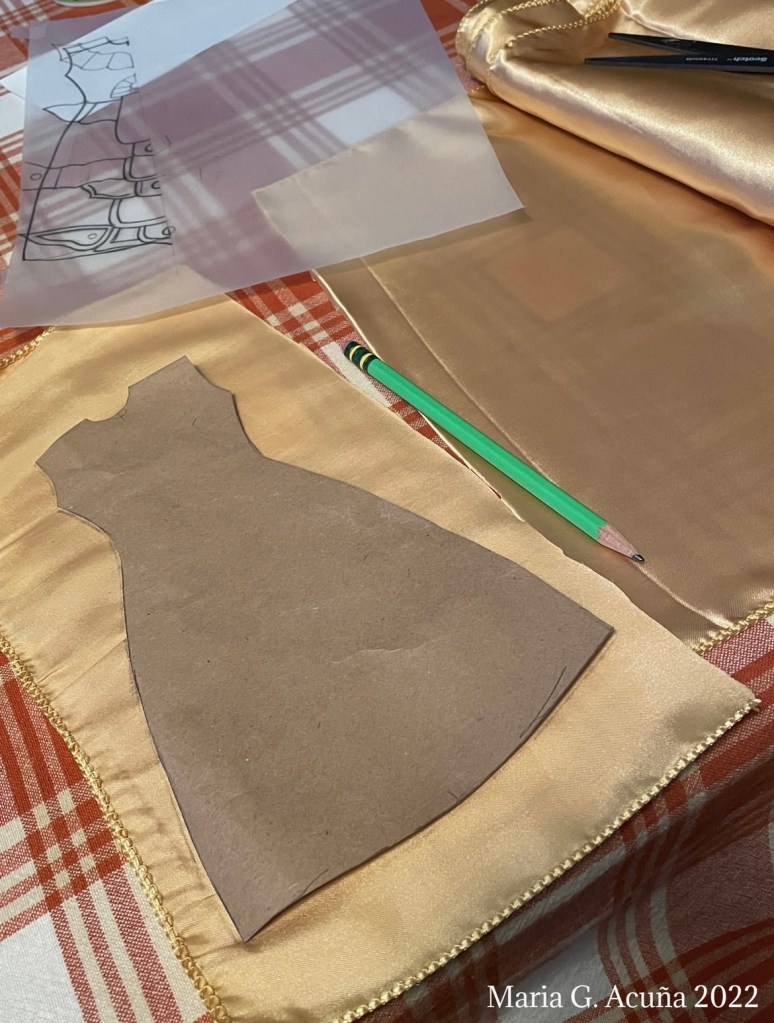
I referred back to the pieces I had made to make sure I had the correct size.

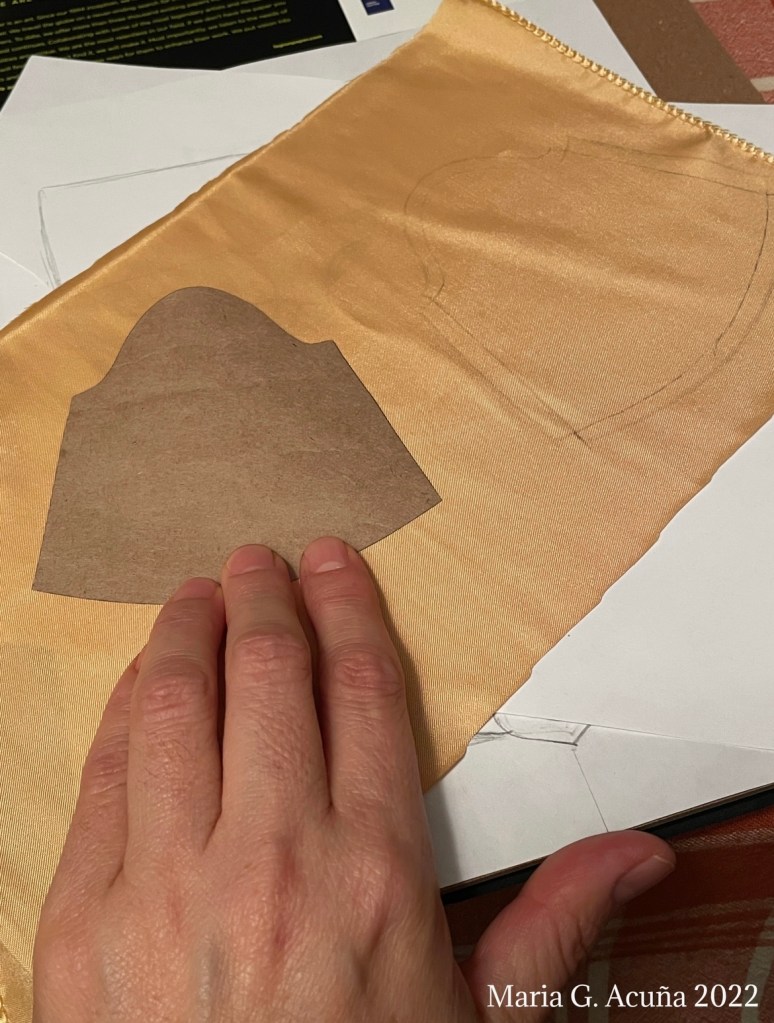
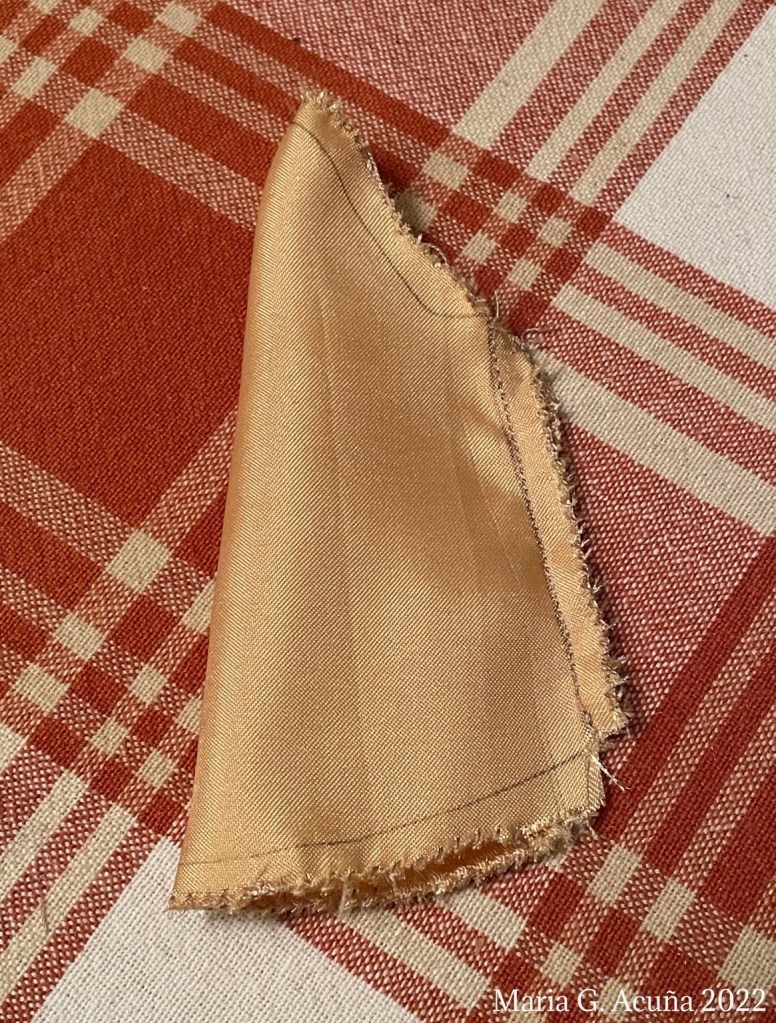
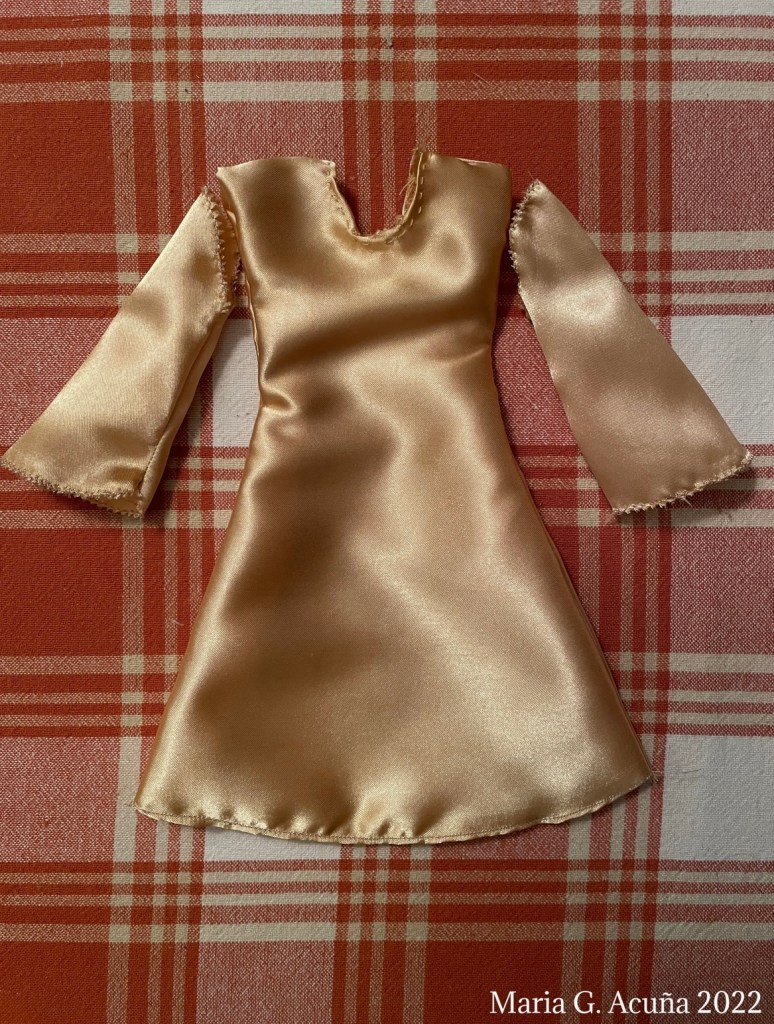
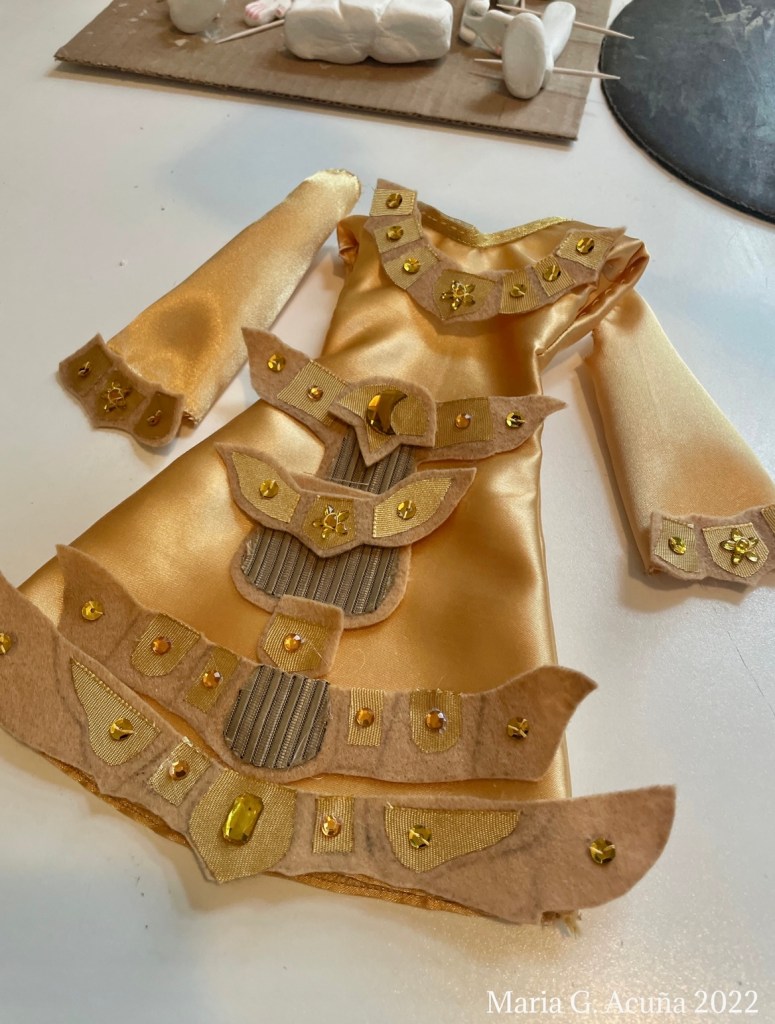
To make the sleeves, I looked for a reference, and I drew what I thought would work for the outfit:

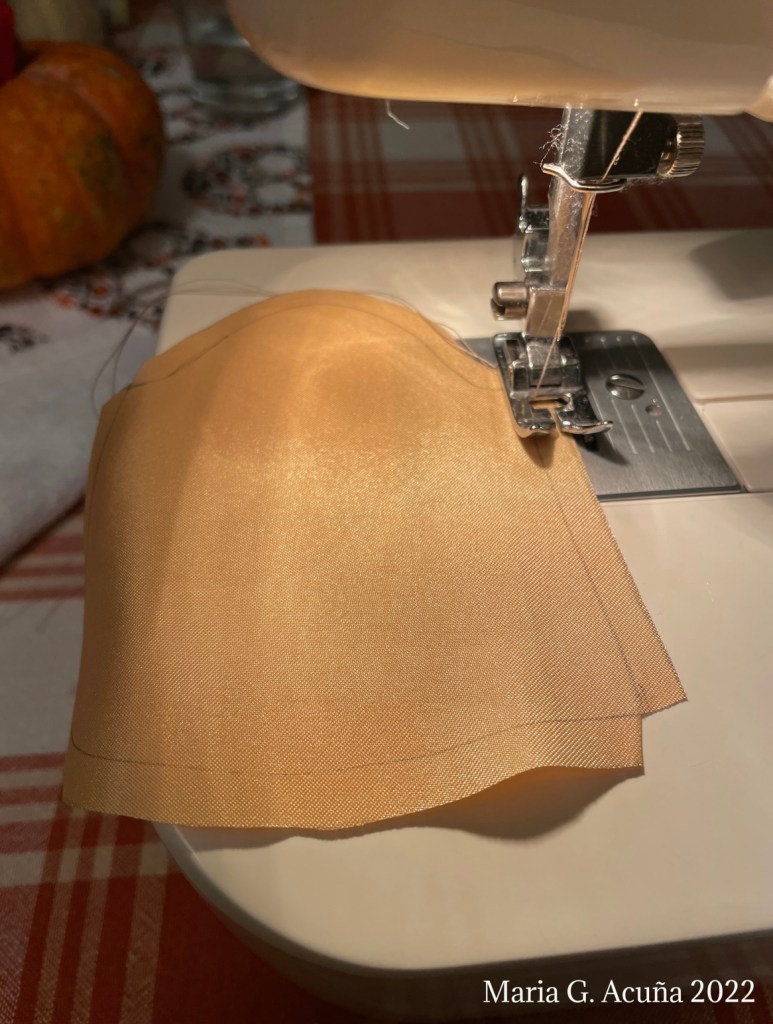
To prevent the cloth from unthreading, I used the sewing machine’s zig zag function. I used it along all the edges. Then I sewed the dress. By the way the first one was too small, so I enlarged it and had to do it again!
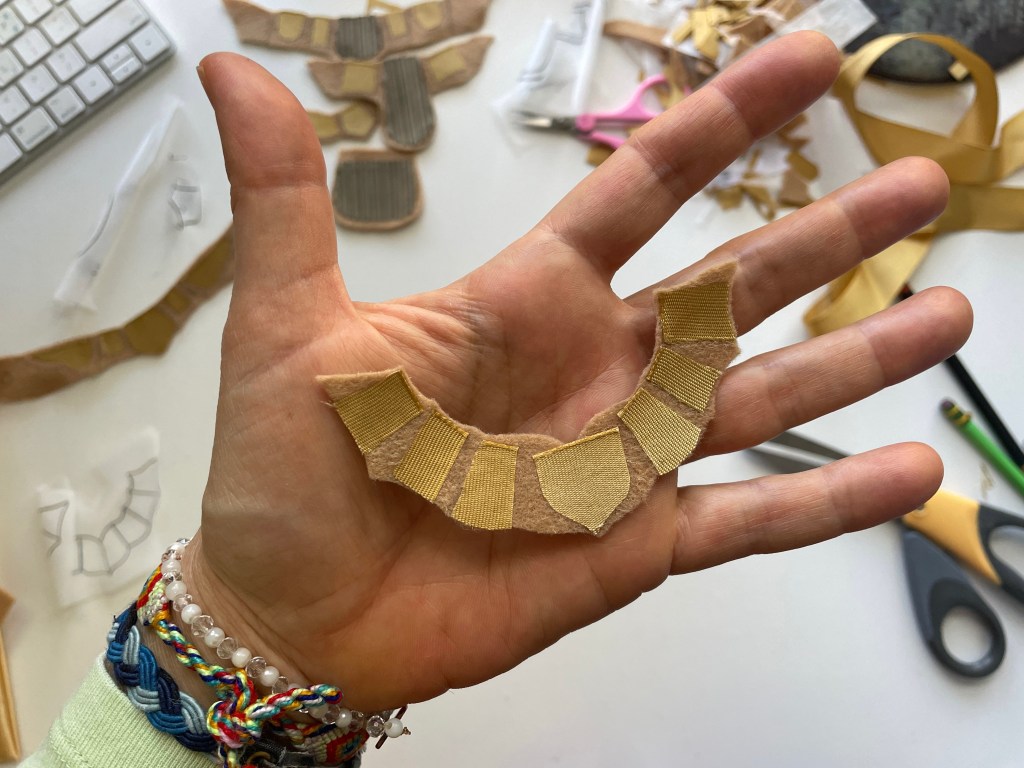
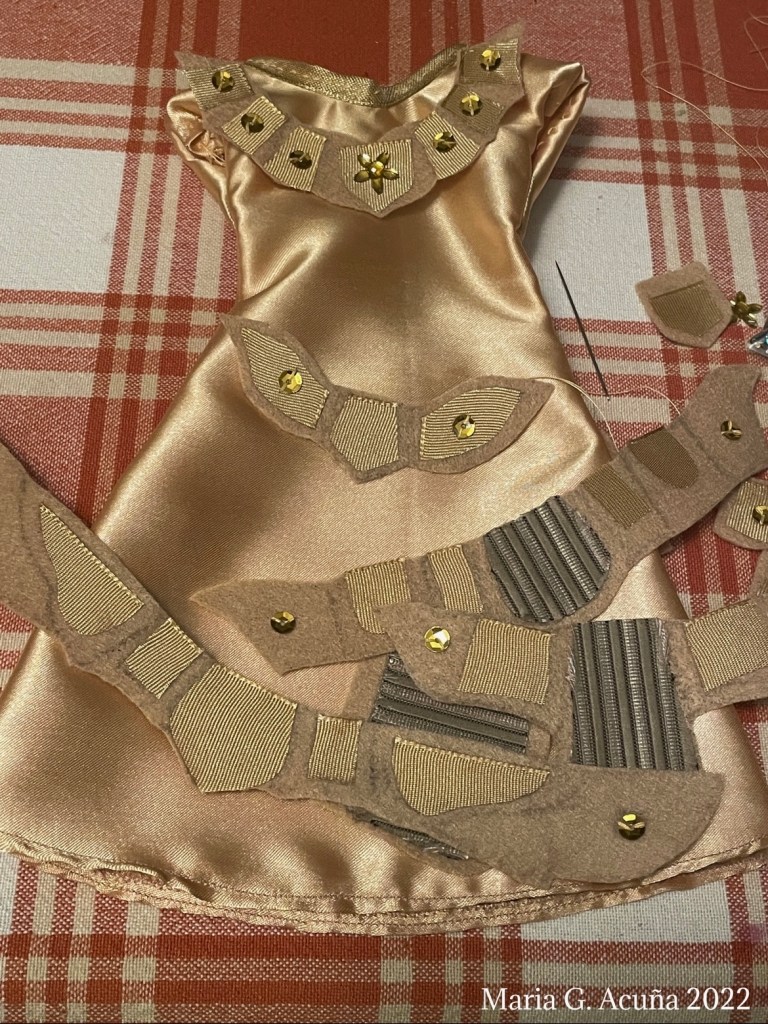
After I thought about how to make the highly detailed ornamentation to the dress. I decided on a beigge felt base and a highly textured cloth for the middle drops. The rest was gold ribbon of which I tried to use one of the edges to prevent unthreading. The prospect of having to saw all these was so daunting! But suddenly a lightbulb lit in my brain as I remembered that wonderful plastic glue film to sew appliques…”Steam a seam.” It worked wonderfully!!!
I transfered the image to the felt using a 6B pencil outline heated up by the edge of the iron. I was super careful with my hands.


Then came a really fun part, the decorating of the decoration of the outfit with plastic jewels. I absolutely delighted choosing and gluing them on (or sewing!)

So beautiful!
The Crown
Then I thought about how I would make the crown. And I settled on using the inside of the cap of a liquid glue! I wrapped little coils around the top and wooalah:


The Shoes
I decided to paint and add details to the clay feet I had made:

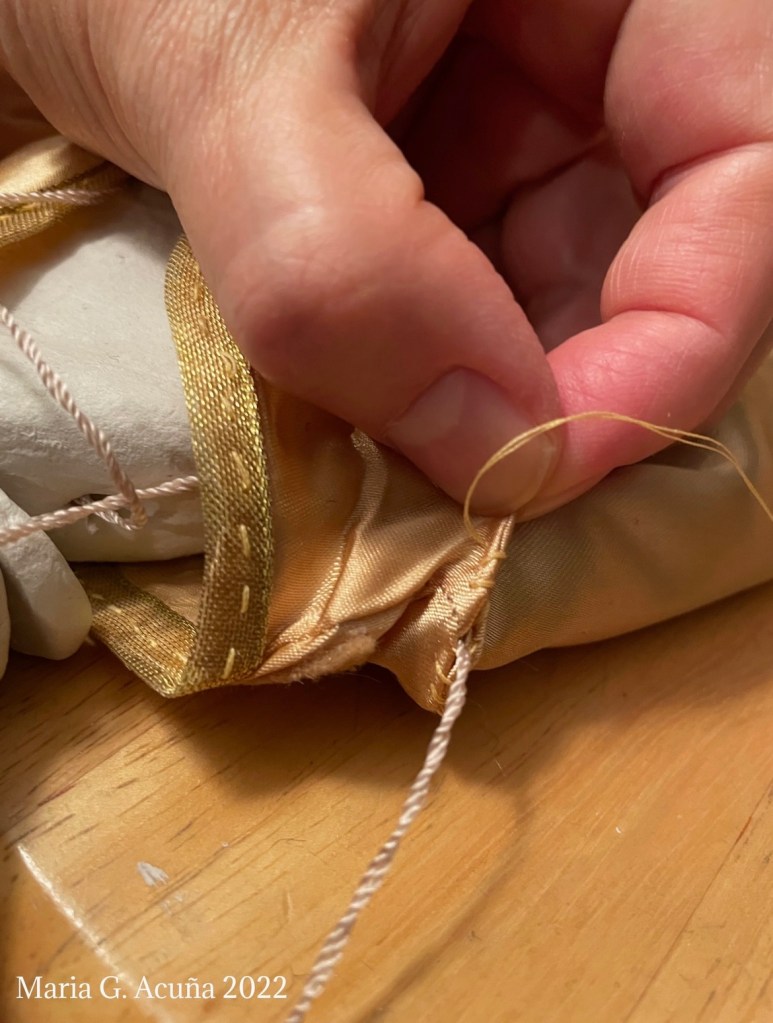
Dressing and Stringing the Marionette
One thing I learned about making a marionette is that you have to dress it and string it at the same time as the cords need to go through its clothing so it can move. This can be tricky! I tried my best to keep to the way puppeteers string marionettes in Myanmar but I made two changes.
This is a great photo of the dress process of these marionettes in Myanmar:

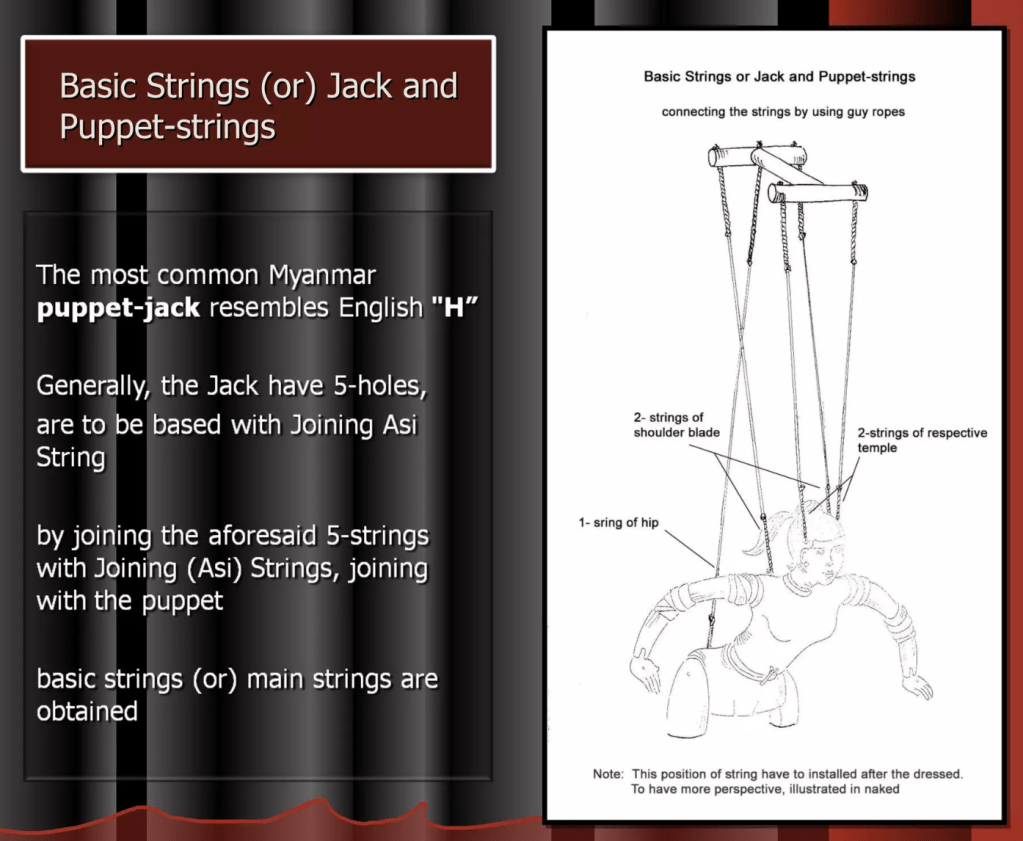
This is the way you are supposed to string them:

I made the puppet-jack with chopsticks:
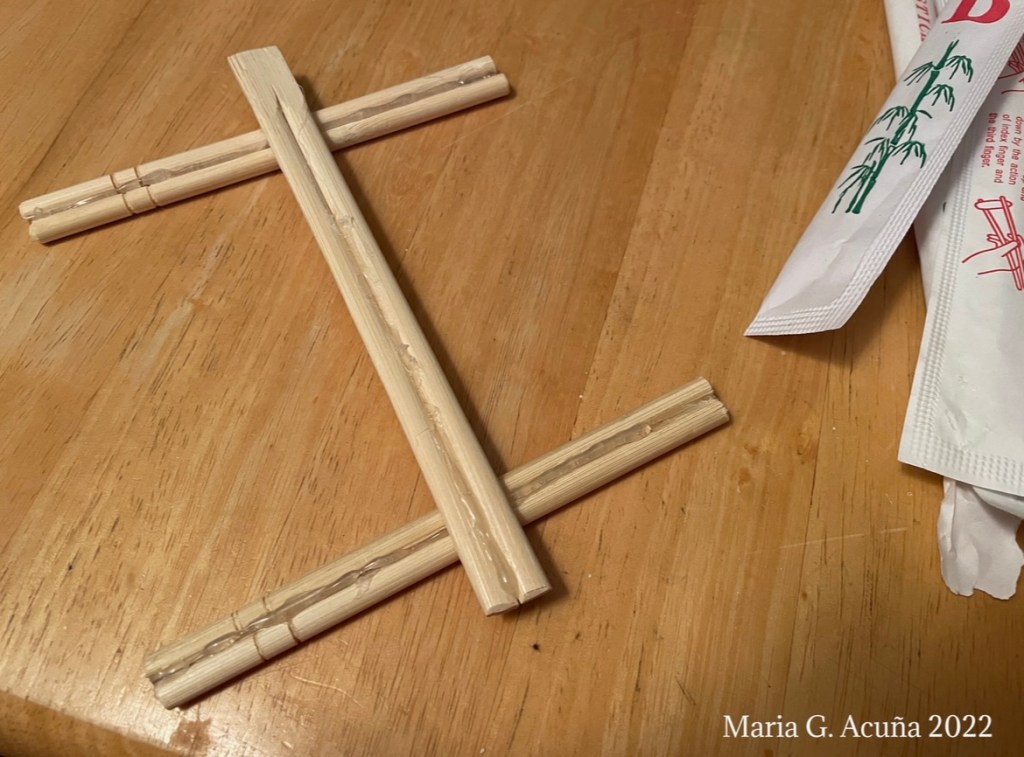

I wrapped yarn to make it soft and strengthen it. A little of decorating too. I did not have hole in the head of my puppet so I did not join the head as it said, instead I joined the feet to the front of the puppet-jack, leaving only one long disconnected cord I would hold with my right hand to control its hands. (One holds the puppet-jack in the left hand.)

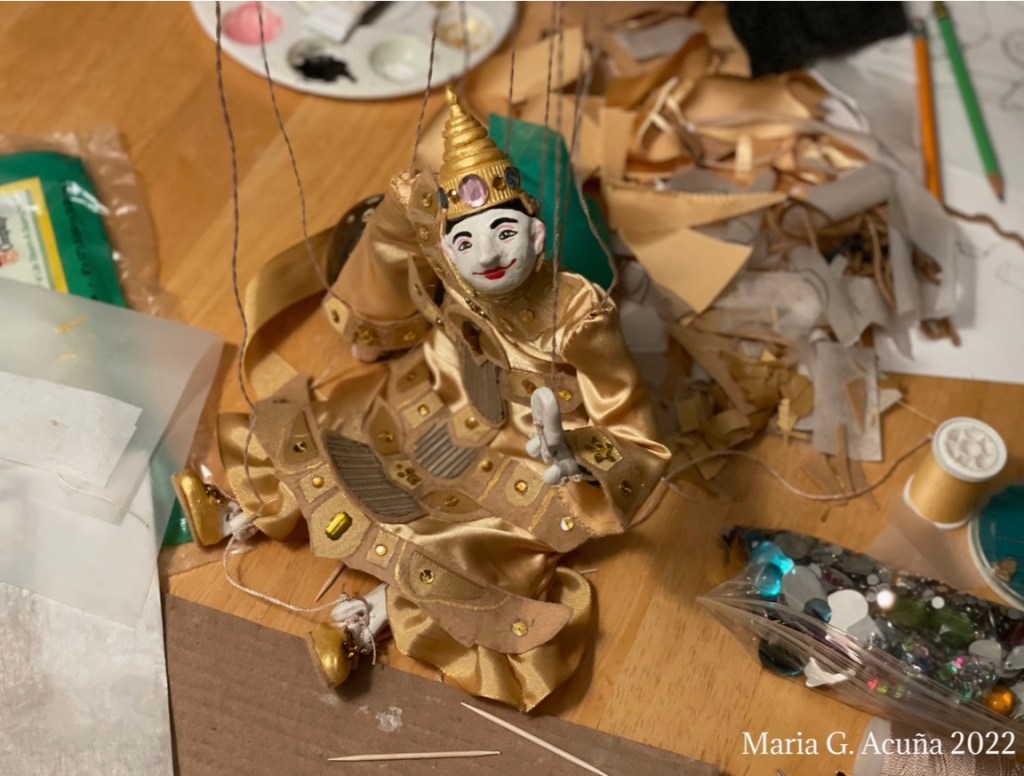
This process took a while and a lot of trying the puppet and seeing how it moved. This is what it looked like when completed:

Then I tied the strings to the puppet-jack.

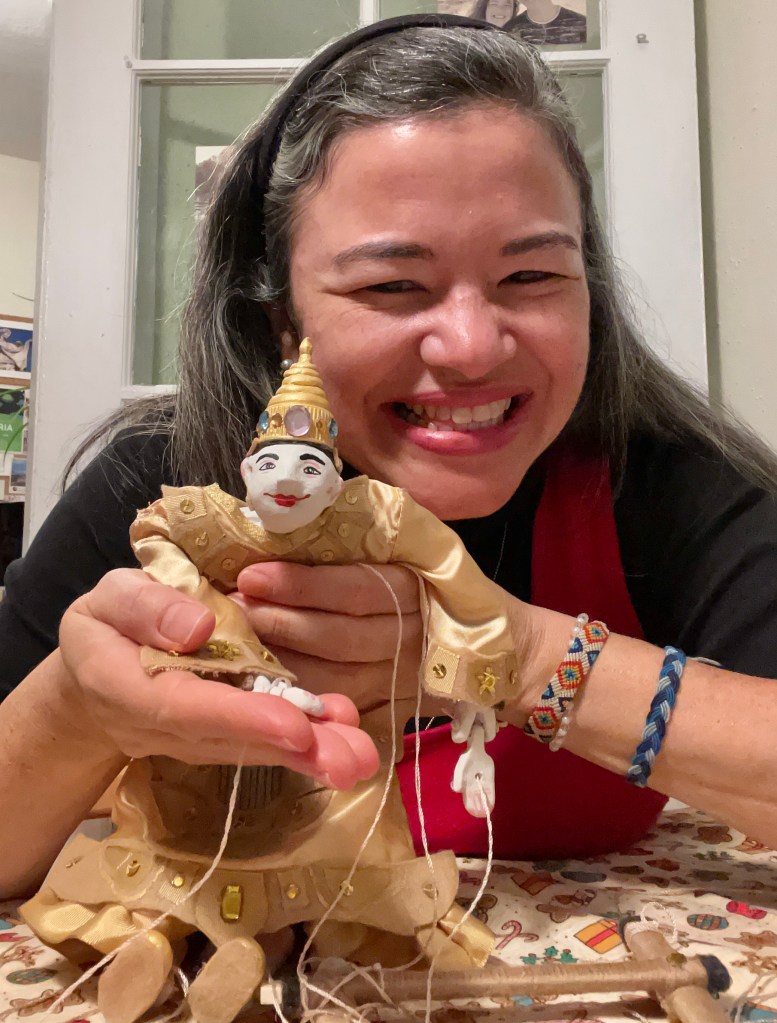
And then came such an excitement moment… to see it move! It made me so happy!


I found a great page that had all the explanation of the basic manipulation of a Myanmar marionette puppet HERE. It is not easy! There are many videos HERE. It is an archive of how they make them, the music and the manipulation. So glad they shared this incredible resource!
And I took many photos…


^ ^ ^ ^

Es increíble que hayas logrado hacer esa marioneta tan difícil, por la cantidad de detallitos de todo tipo en su modelaje y luego el ensamblaje. El maquillaje, vestuario lleno de joyas y como si fuera poco… las cuerdas para darle vida. 👏🏽👏🏽👏🏽
FELICITACIONES
LikeLike
¡Muchas gracias! ^ ^ Definitivamente la artesania más complicada que he hecho hasta ahora! Me fascino cada parte del proceso de hacer una marioneta! Me alegro que te gusto!!!
LikeLike
Your marionette looks amazing! Well done 😀
LikeLike