
Hello! Yes! Remember that video in the last post about a coin purse based on the Colombian Wayuu bags? This one:
Well, I did it!!! Isn’t it adorable: !!!
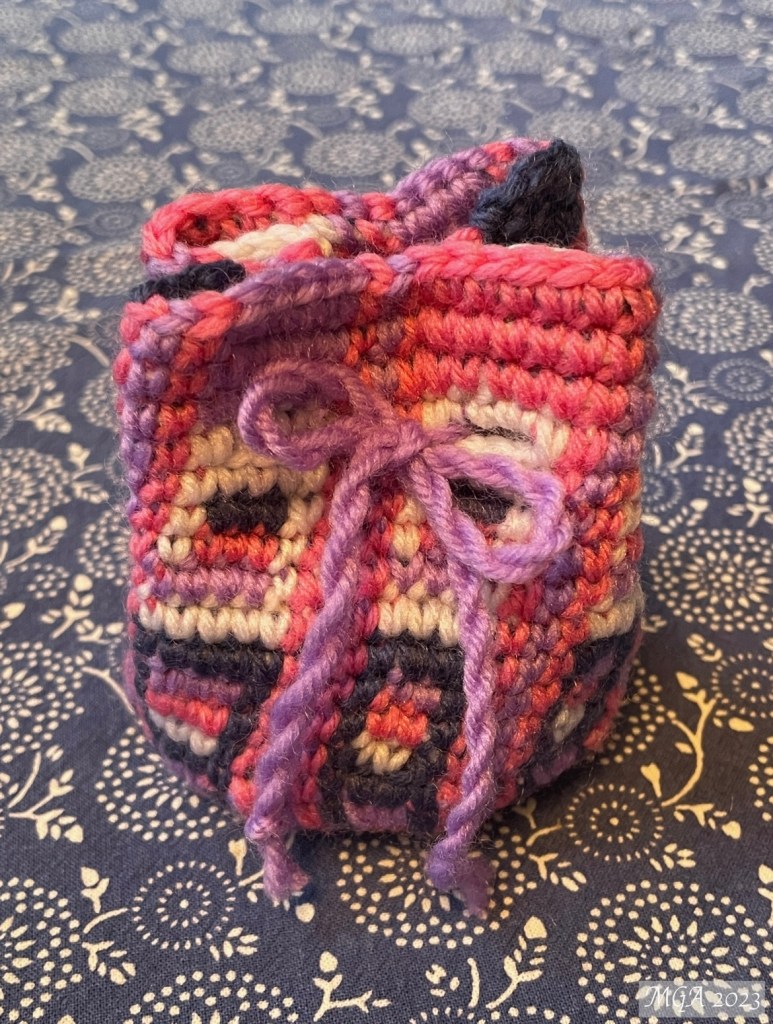
I changed the pattern in mine a bit. Here are the photos of the process and a few recommendations along the way should you want to try it too…
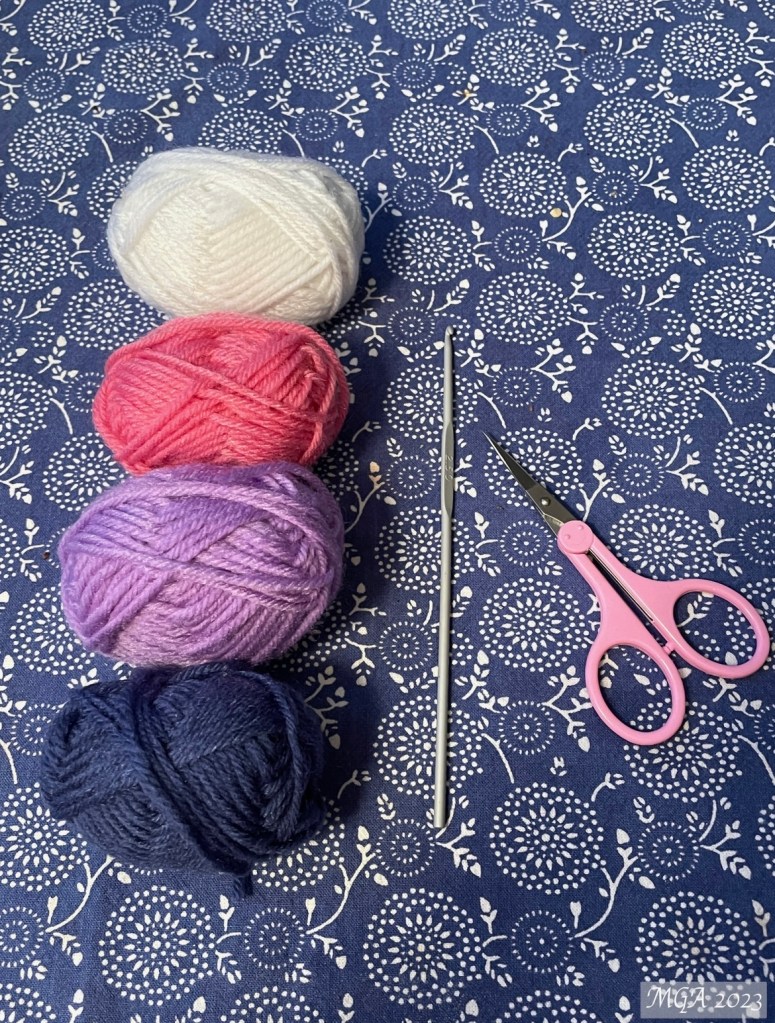
Materials
You will need four cotton color yarns… she works with cotton, as do the Wayuu people. I did not have that, so I used acrylic yarns. They work pretty well. They are bigger and they become unraveled a bit easier. The colors she chose go from light to dark… you can do it in any hue you wish. I followed her in the pink-purple hues.
A crochet needle… I had size 2.5.
A pair os scissors.
Needle and thread of the last color you use.
Directions
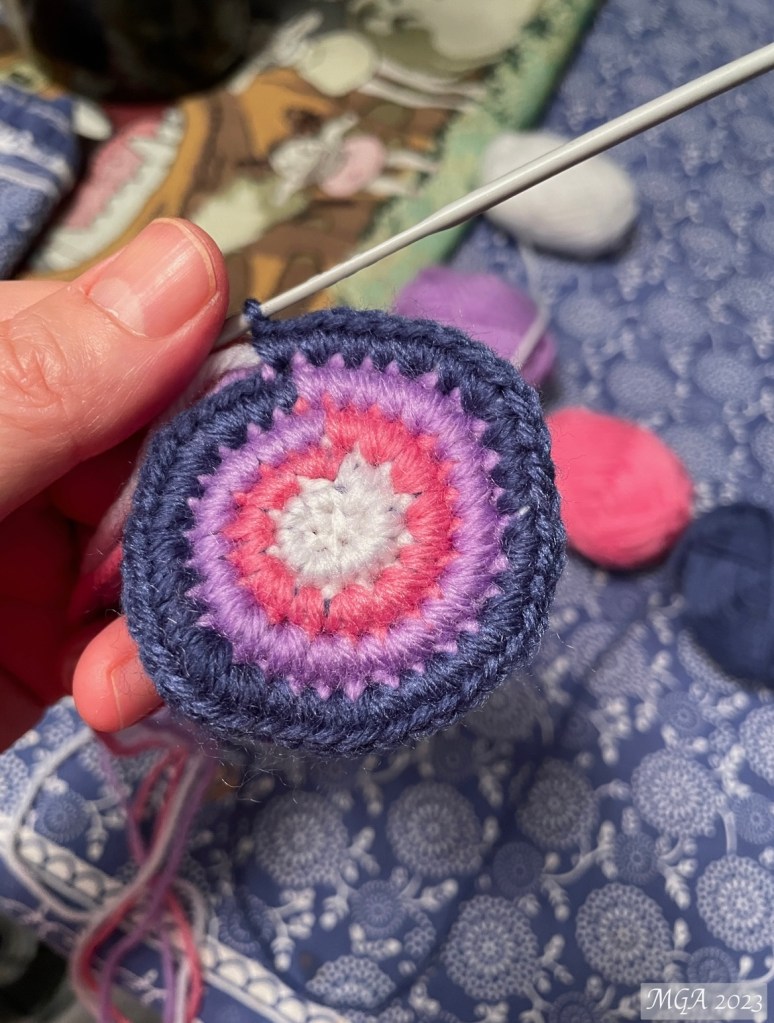
Like in the video you start with a short chain of 4 stitches and you join it… then you stitch 1 basic stitch as you grab the other 3 colors.
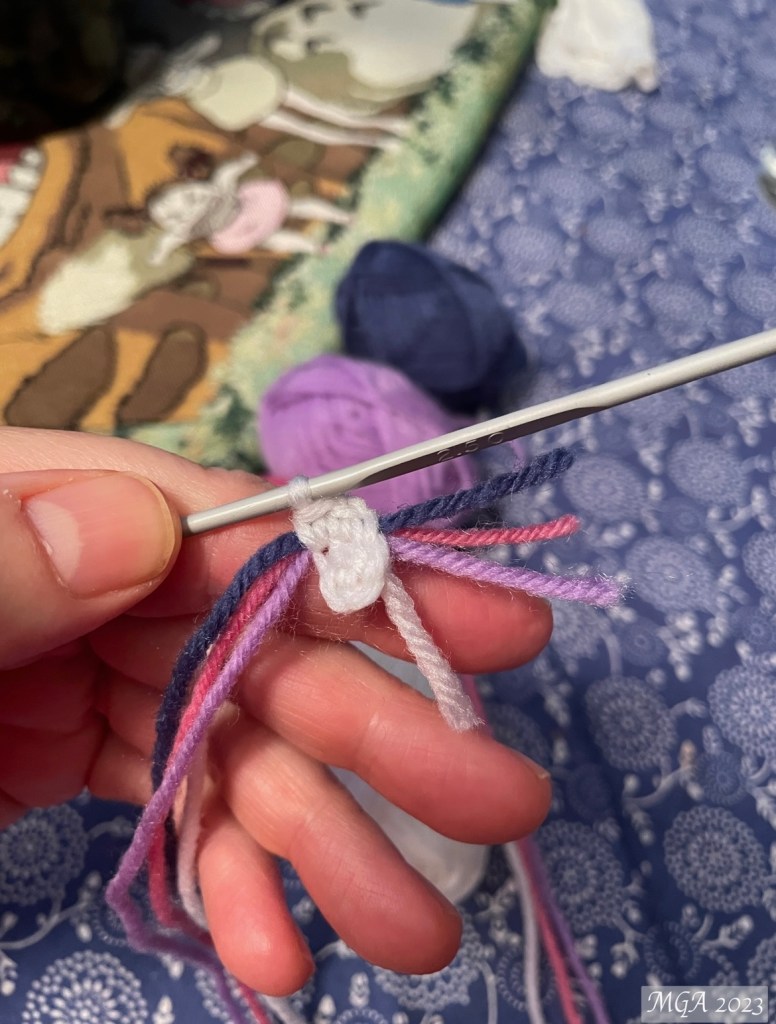
Then you do 10 basic stitches in that first color: white. Then switch to pink. To do this you simply let go of the white thread an pick up the pink…

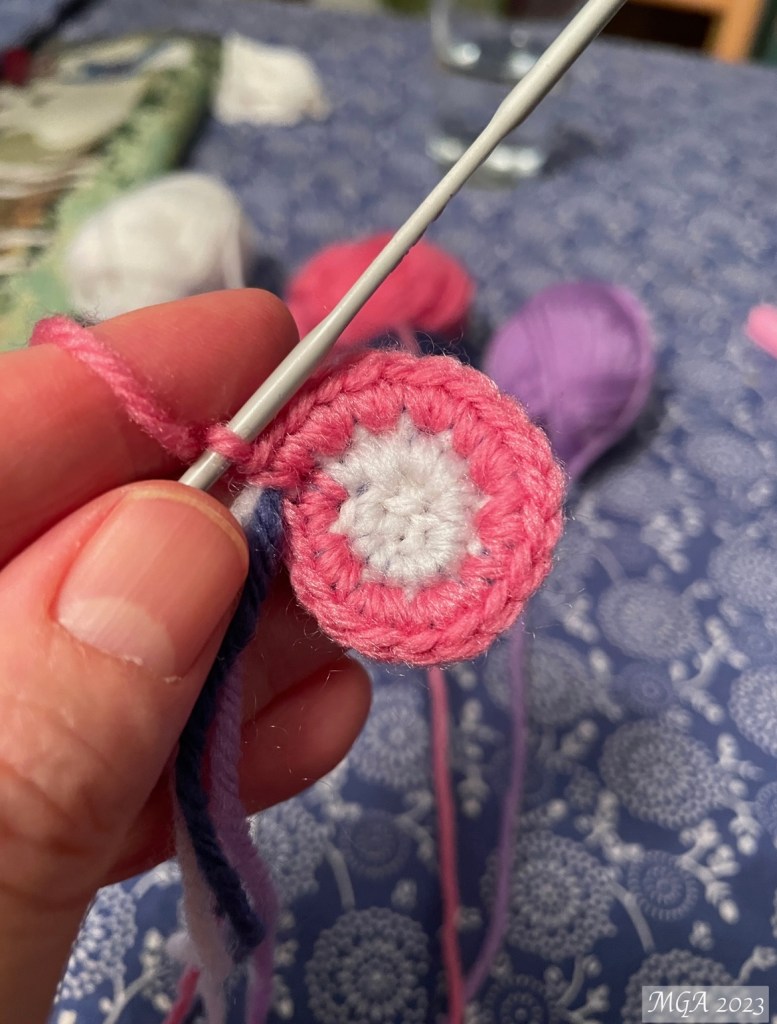
Then the purple and the dark blue…
Then she started her pattern. There is a line pattern of pink-purple-pink and a solid that changes gradients horizontally. One thing I made a mistake on is that unlike when you are crocheting in one color when you are using more than one, you must finish the stitch with the next color. I did not do this until later… that is why my lines look diagonal… not straight up.
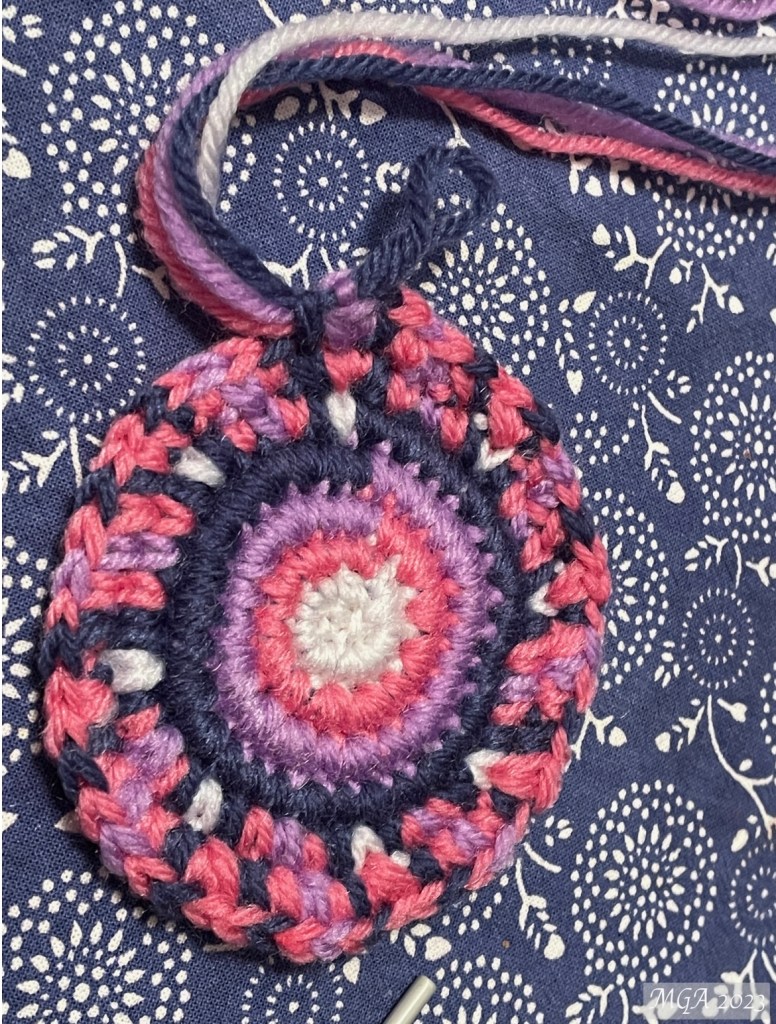
You can see mine does not look to neat… it took me a while to get it. A messy while… the hardest part is that often you have to stop to untangle the mess of the threads..

Yes… the Catbus in the background (from Totoro) expresses my frustration perfectly! ^ ^
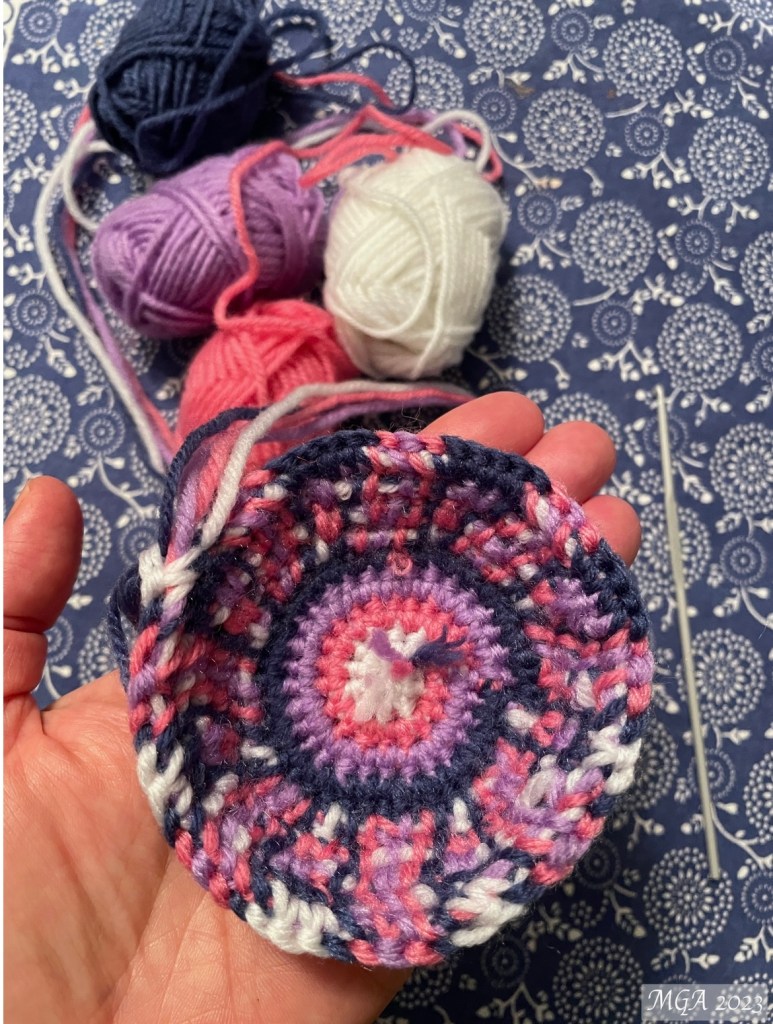
Finally I got it… here is what I mean:

See… I’m grabbing the blue to put it through the pink… this is not clear in her video… I had to play it slowly various times to finally see this!
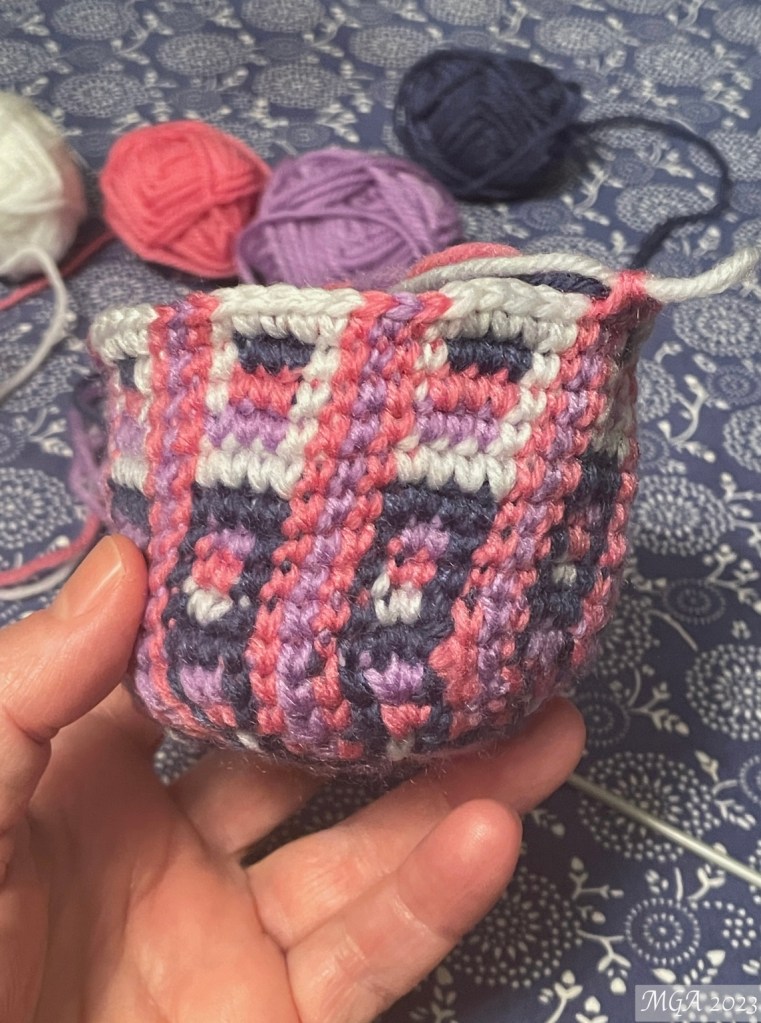
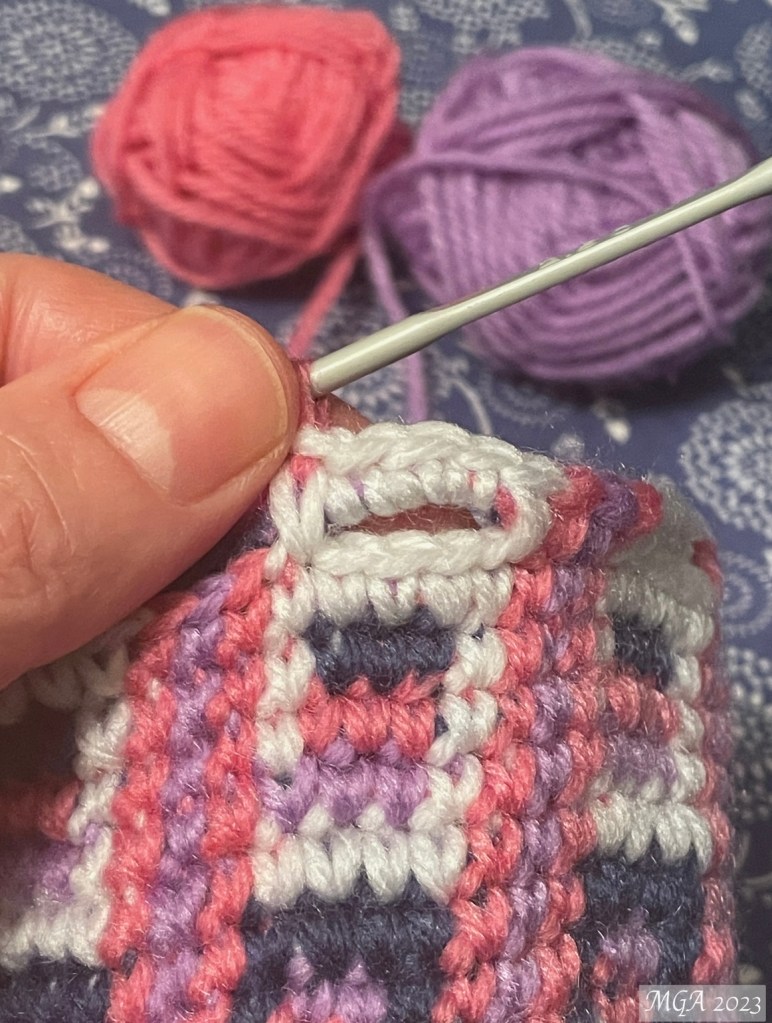
And then I was home free… except for the many times I messed up had had to undo a whole round… (like 3 times!)… I became so confident that I even changed the pattern! Then after I had completed two of those solid rectangles (with the gradient inside) I decided to add the eyeletes. You do this by ignoring the attachment to the bottom basically:
Then I crocheted three rows on top of the eyelet round. I liked changing colors rather than sticking to just one color. The end came pretty fast after this!
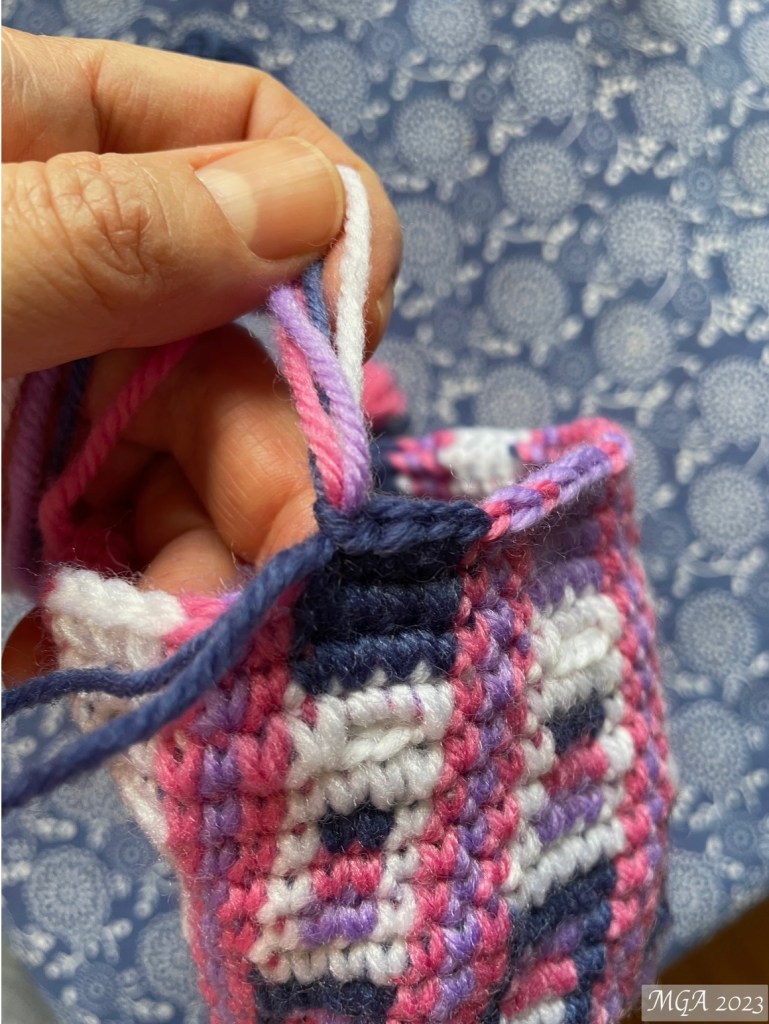
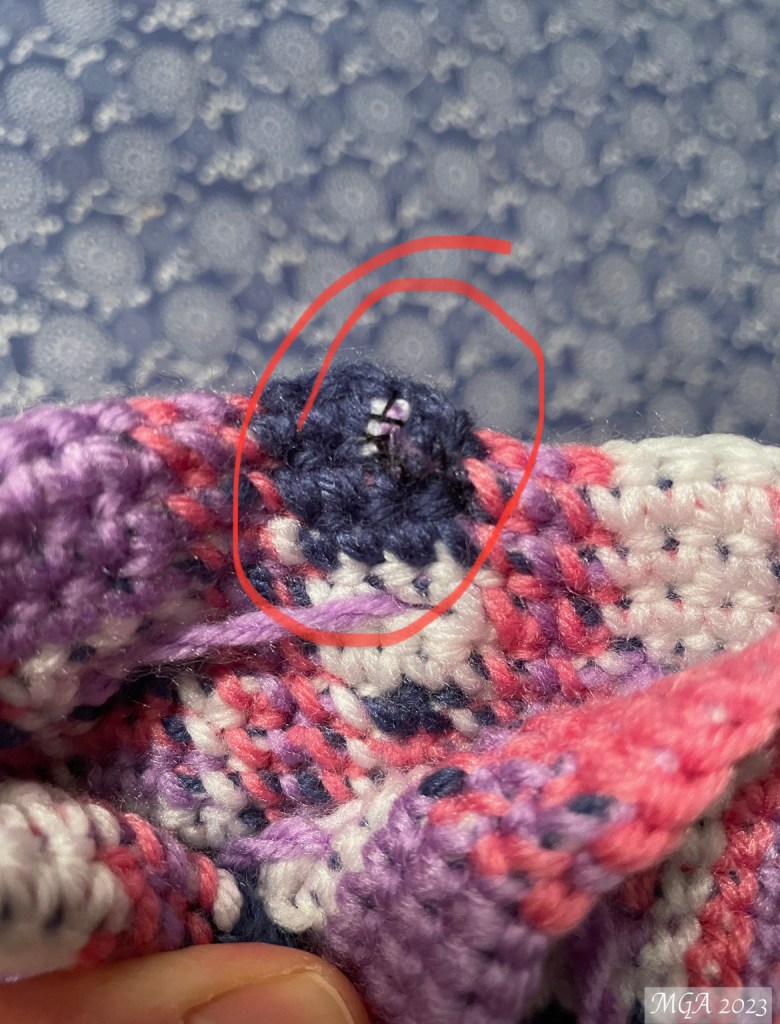
Except in the video she never explains the end! So I did the best I could. I tied and his the threads as best I could. I sewed the ends using the same color. It is not very good, but barely noticeable!

So happy with it! Then I worked on a cord… she weaves it by hand, I did the twisting method… basically you just tie one end to the table and then turn and turn the thread until it twists into itself.
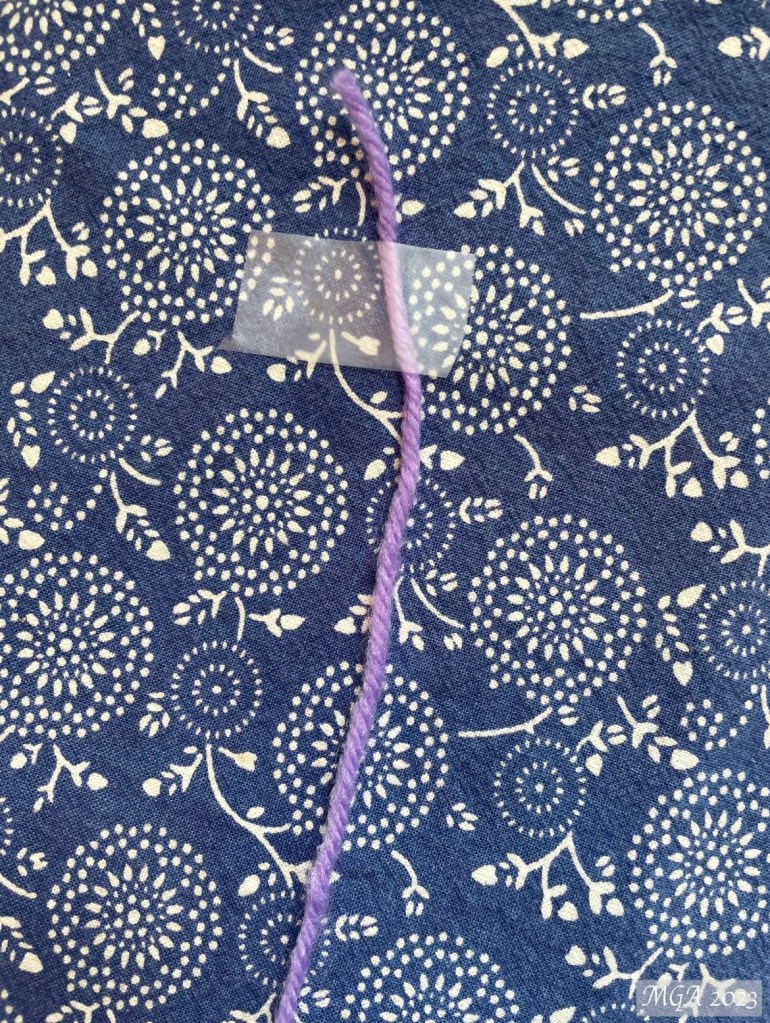

Then you put it through the eyelets in zig zag and make a bow tying it at the end…
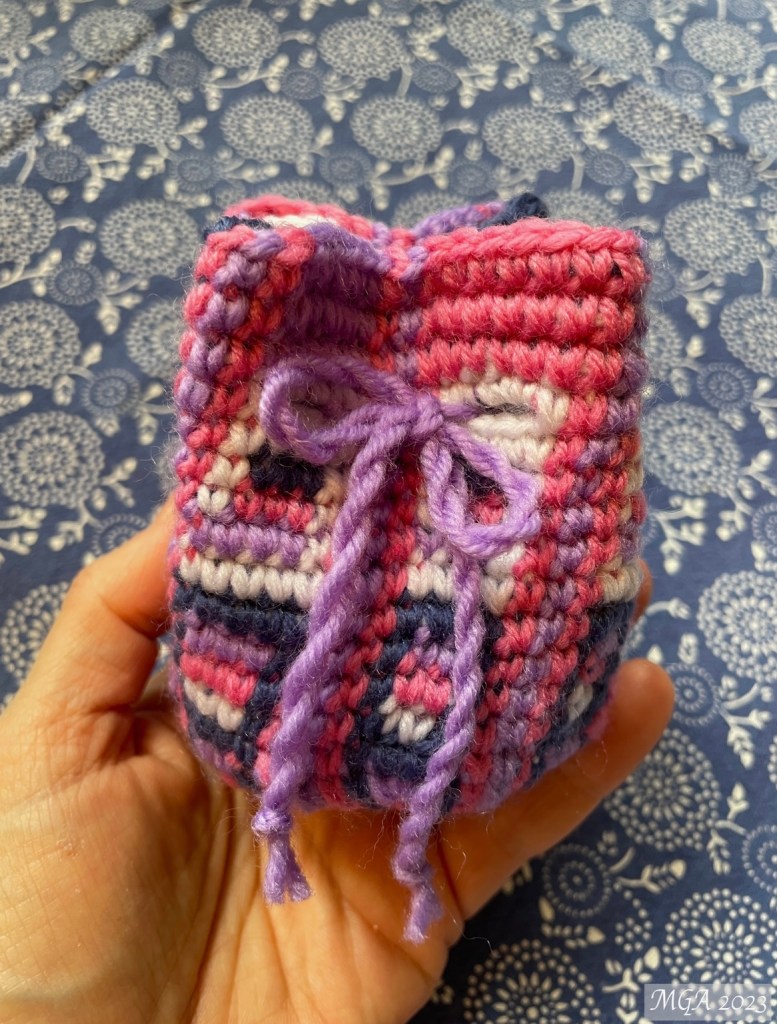
Ta-daaaa!!! ^ ^
